Managing your profile
Your Zora profile is how others see you, and your account settings control how you use the platform.
Your public profile
Your public profile is what other people see when they visit your page on Zora. It's the first impression you make, so take a moment to set it up the way you want.
Here's what makes up your public profile:
Profile Picture — the image that represents your account across Zora.
Display Name — a personalised label for your profile
Can be a pseudonym, your real name, or even the same as your username
Username — your unique identifier, discoverable as @yourUsername
Username requirements:
Minimum 3 characters
Maximum 38 characters
No special characters, spaces, or symbols
Bio — a short description where you can tell people who you are
ENS Domain Name — if you have an ENS name, it acts as a human-readable label for your Ethereum wallet address
Learn more about ENS Domain names at ens.domains
Wallet Address — your unique 42-character hex address starting with "0x"
Learn more about your Wallet on Zora in our Understanding your Zora wallet support article here: {link when available}
Your account settings
Your account settings are the private-facing controls for your Zora account. This is where you manage the email tied to your account and choose which notifications you want to receive.
How to edit your profile picture, display name, and bio
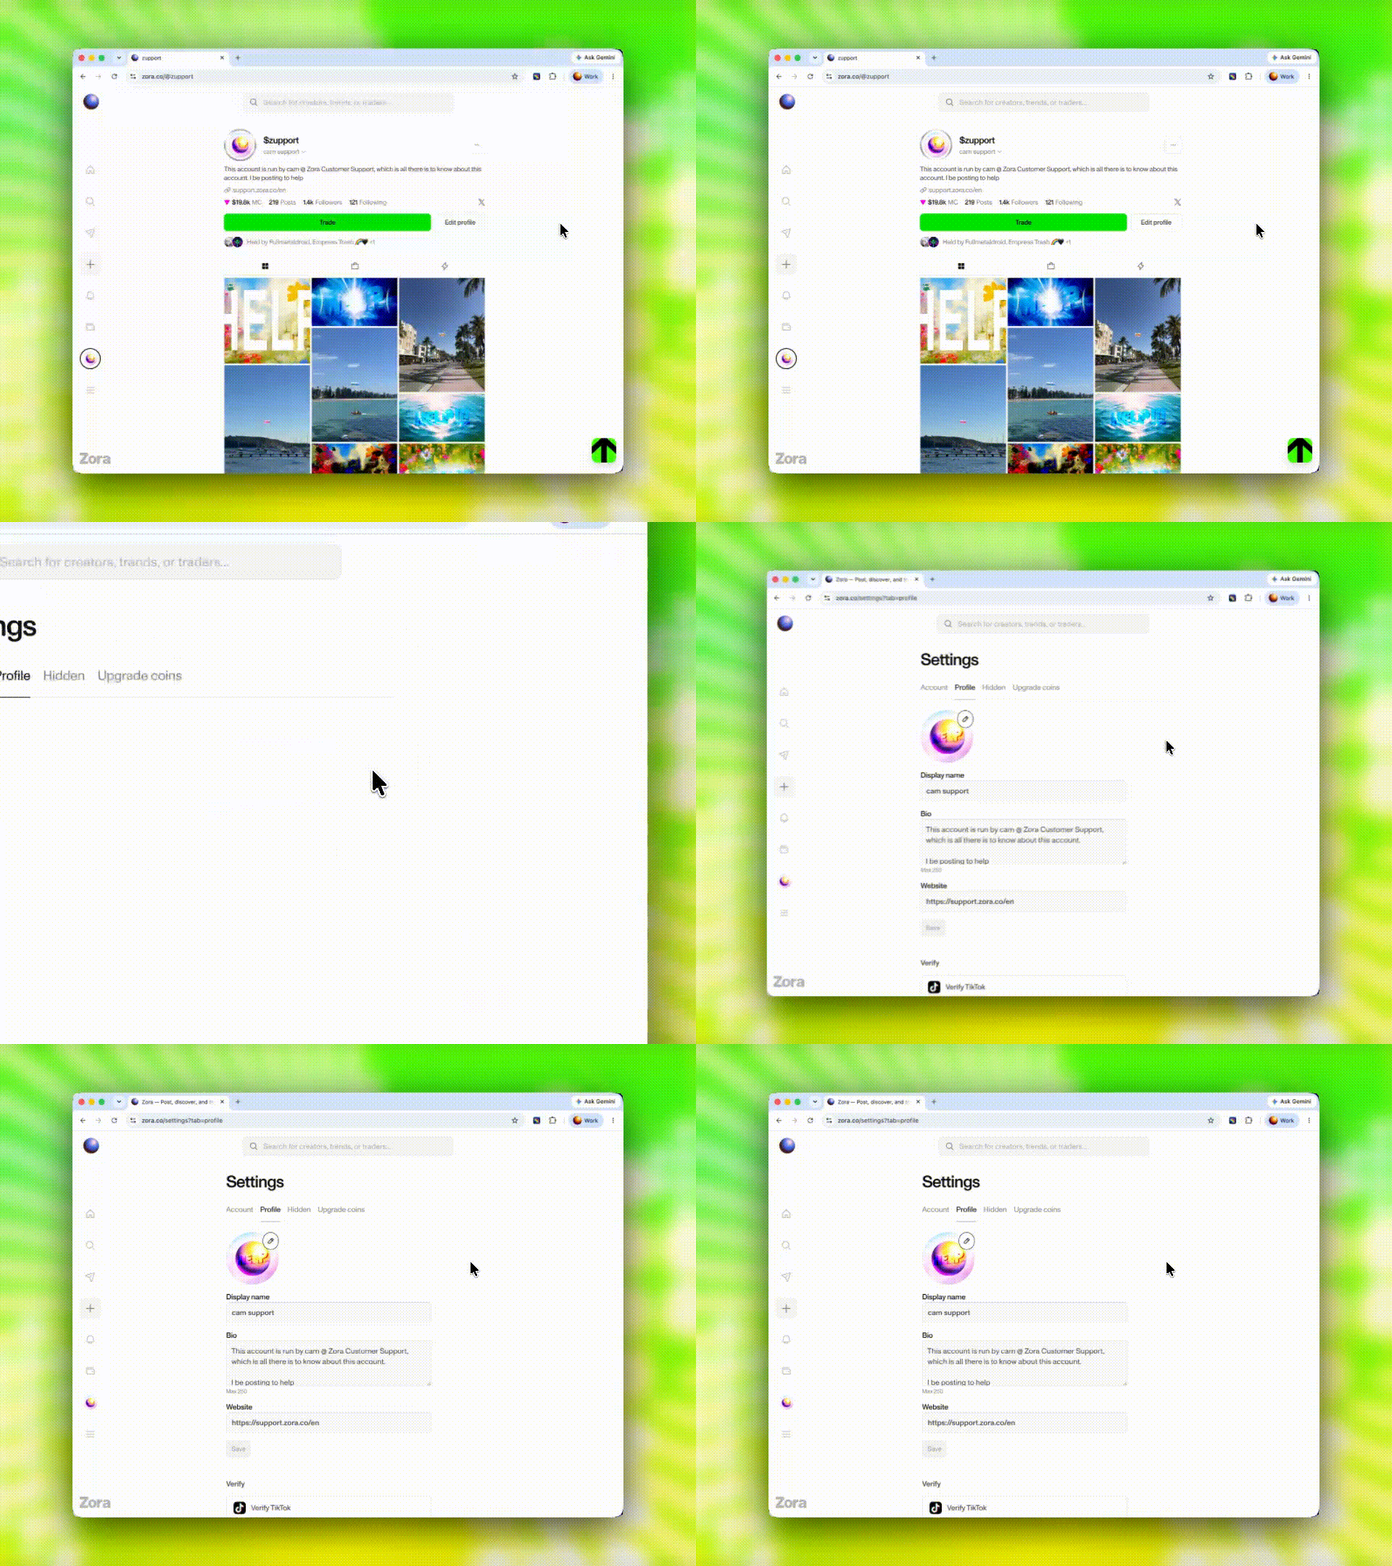
Go to your profile
Tap “Edit profile”
Update your profile picture, display name, bio, or website
On the web, you can also manage your linked social accounts. Learn more about linked social accounts in our “Verifying your account” support article her: {link when available}
Tap “Save”
How to edit your Username
On the web version of Zora:
Click "☰" to open the Quick settings menu
Click “Settings”
Edit your username
Click “Save username”
On the Zora app:
Go to your profile
Tap “Edit profile”
Edit your username
Tap “Save”
How to change your email address
Disclaimer: This feature is only available on zora.co and not on the mobile app.
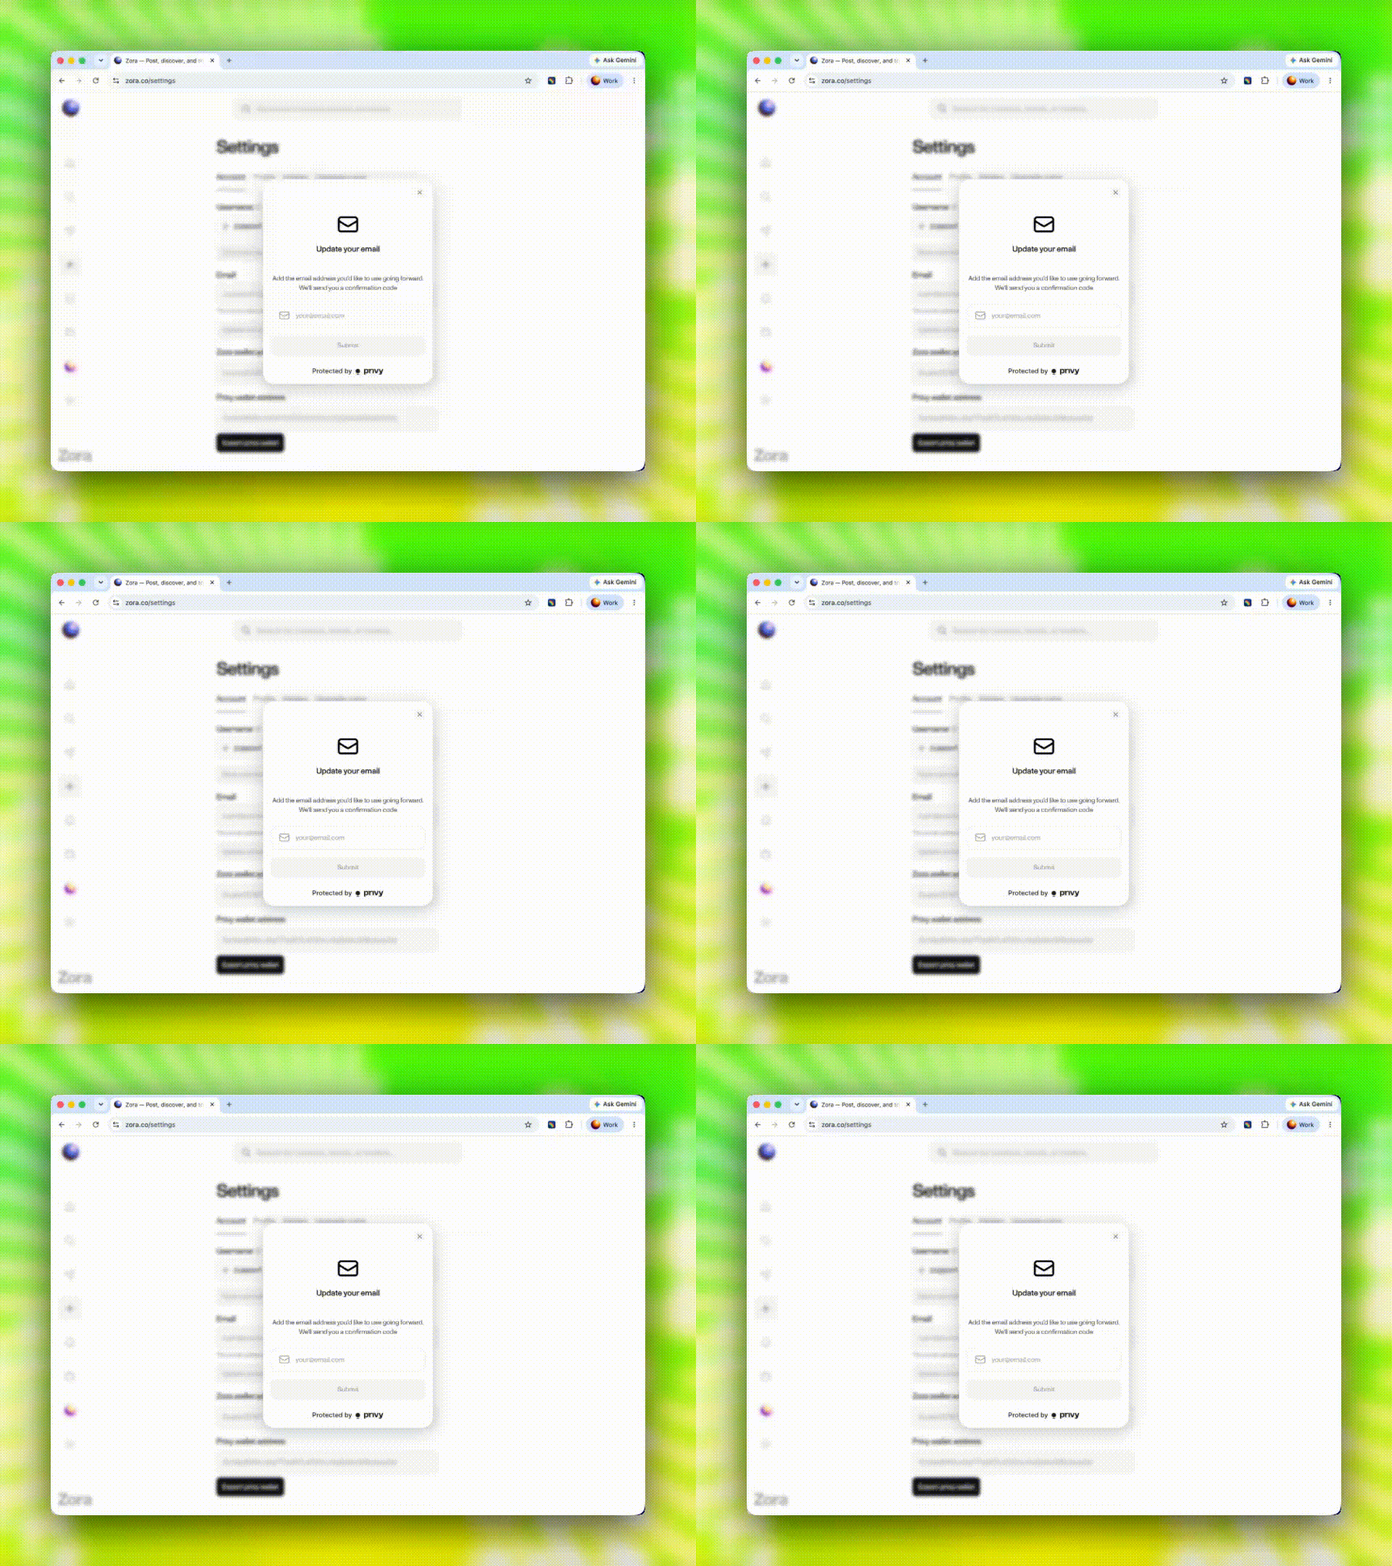
Click "☰" to open the Quick settings menu
Click “Settings”
Click “Update email”
Enter your new email address
Click “Submit”
Enter the six-digit verification code sent to your inbox
How to change your notification settings
On the web version of Zora:
Click "☰" to open the Quick settings menu
Click “Settings”
Edit your preferences for marketing emails and in-app notifications
Click “Save settings”
On the Zora app:
Go to your profile
Tap “⚙️” to open the Settings menu
Tap “🔔” to open the Notifications settings
Edit your preferences for in-app notifications
Need help or have questions?
If you would like more help, don't hesitate to contact our support team via our help centre or tag us on X (formerly Twitter) and Farcaster.