ZORA101: How to Personalize your Mint Page
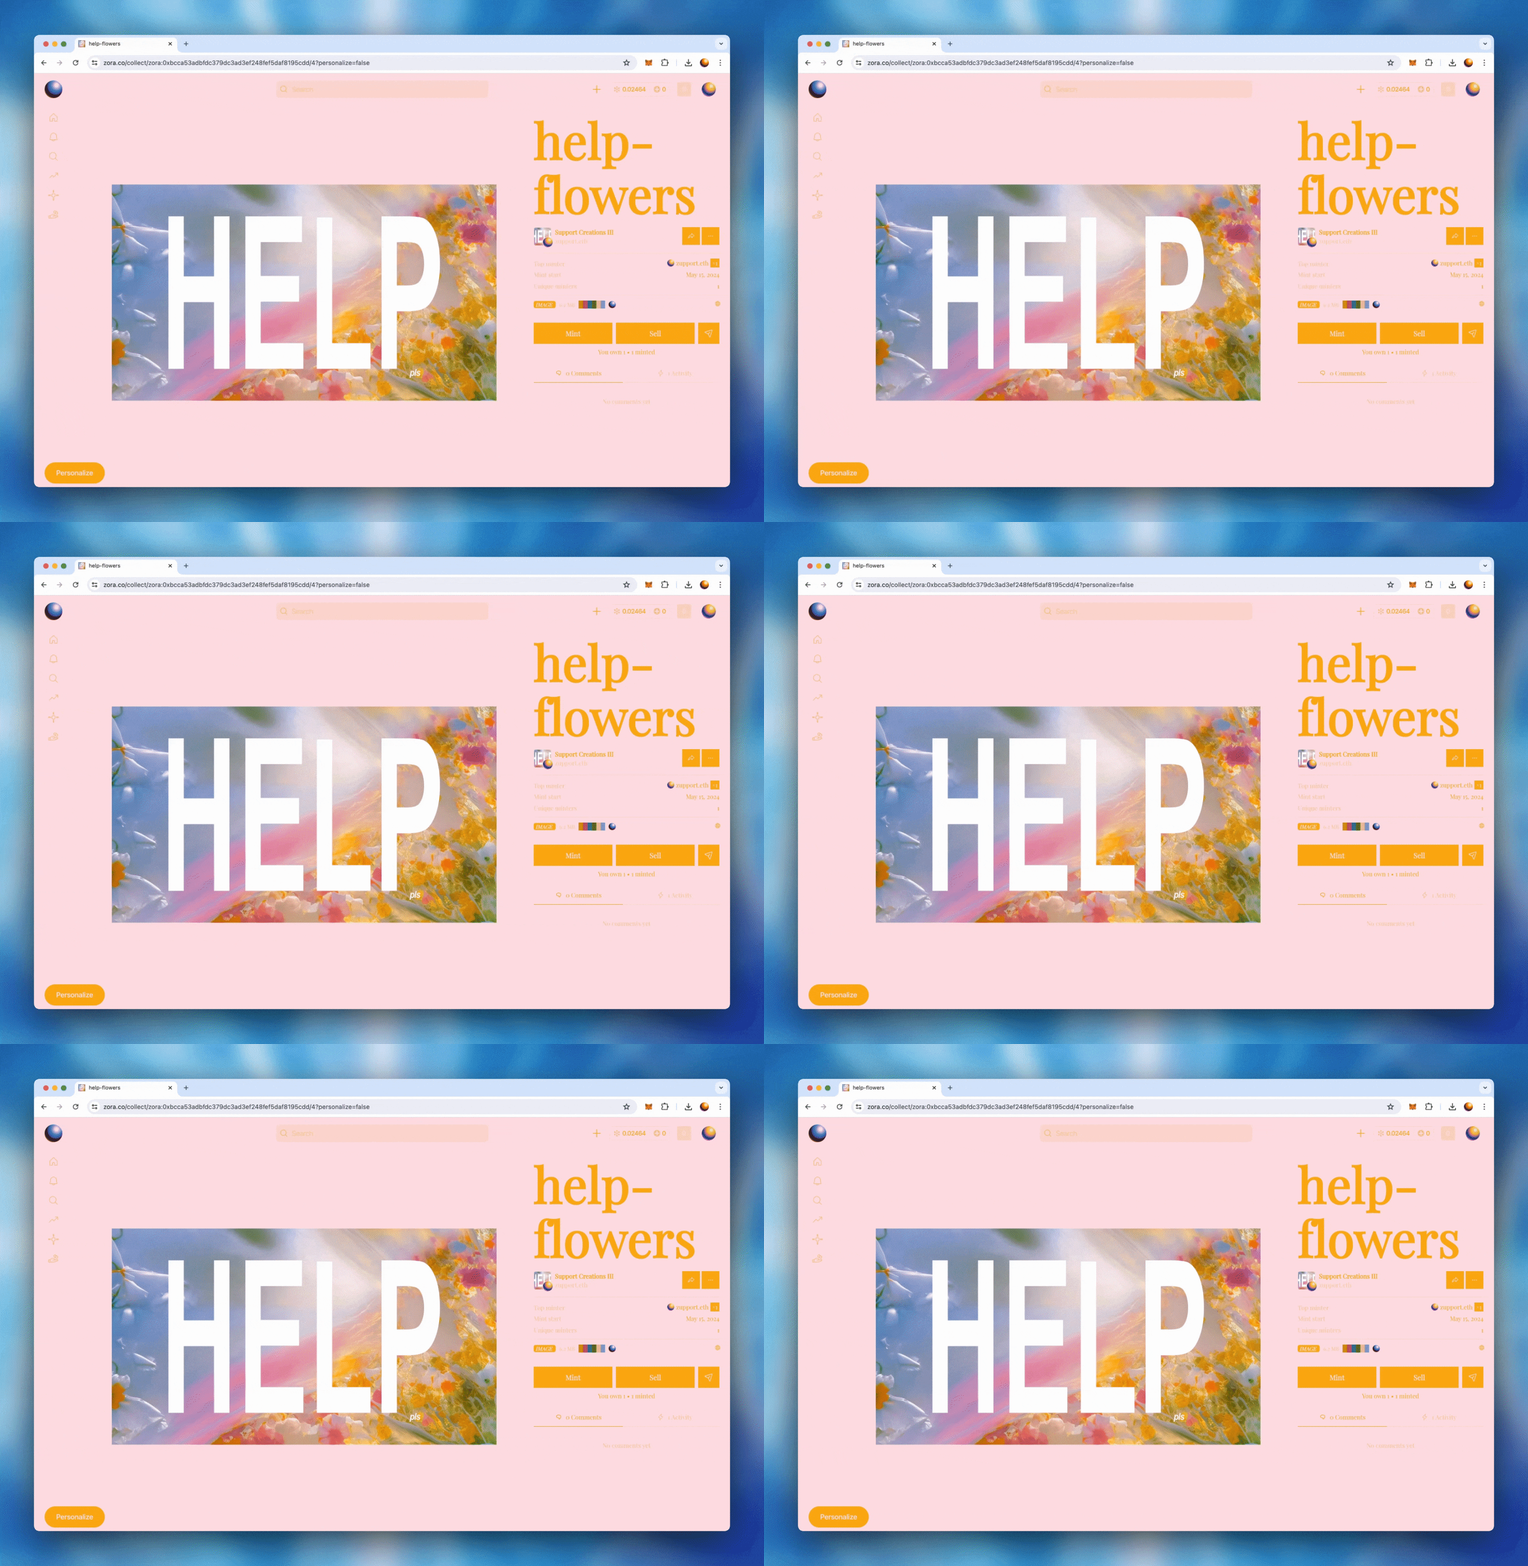
Take control of your collections' mint page with our new personalization feature. Our no-code solution unlocks your Drops and posts mint pages, allowing you to create a more personal minting experience for your community. With personalization, you can now update and edit your pages’ colors, fonts and format. Follow our guide below to learn how to use this feature.
Want to Personalize your collection? First, you must have created either a drops or posts collection.
If visual learning is your preferred style, look at some amazing examples from creators on ZORA.
Otherwise, continue below and follow our in-depth walkthrough:
**Personalizing your mint page on Zora Network requires you to pay a small gas fee to save your changes.
Personalizing your collection
To access the personalize feature, navigate to your collection page. If your collection was created on ZORA, select your intended collection from your "Manage Collections" page. If your collection was NOT created on ZORA, paste your collections contract address into the URL shown: https://zora.co/collect/[network]:[collection-address-here].
There are two options available when creating your personalized mint page:
The first is to use our personalization presets, which offer pre-made templates that you can use to change the design of your mint page easily.
If you want to level up your personalization, you can use our advanced feature that allows you to control the colour themes, fonts and format of your mint page.
1. Personalization Presets
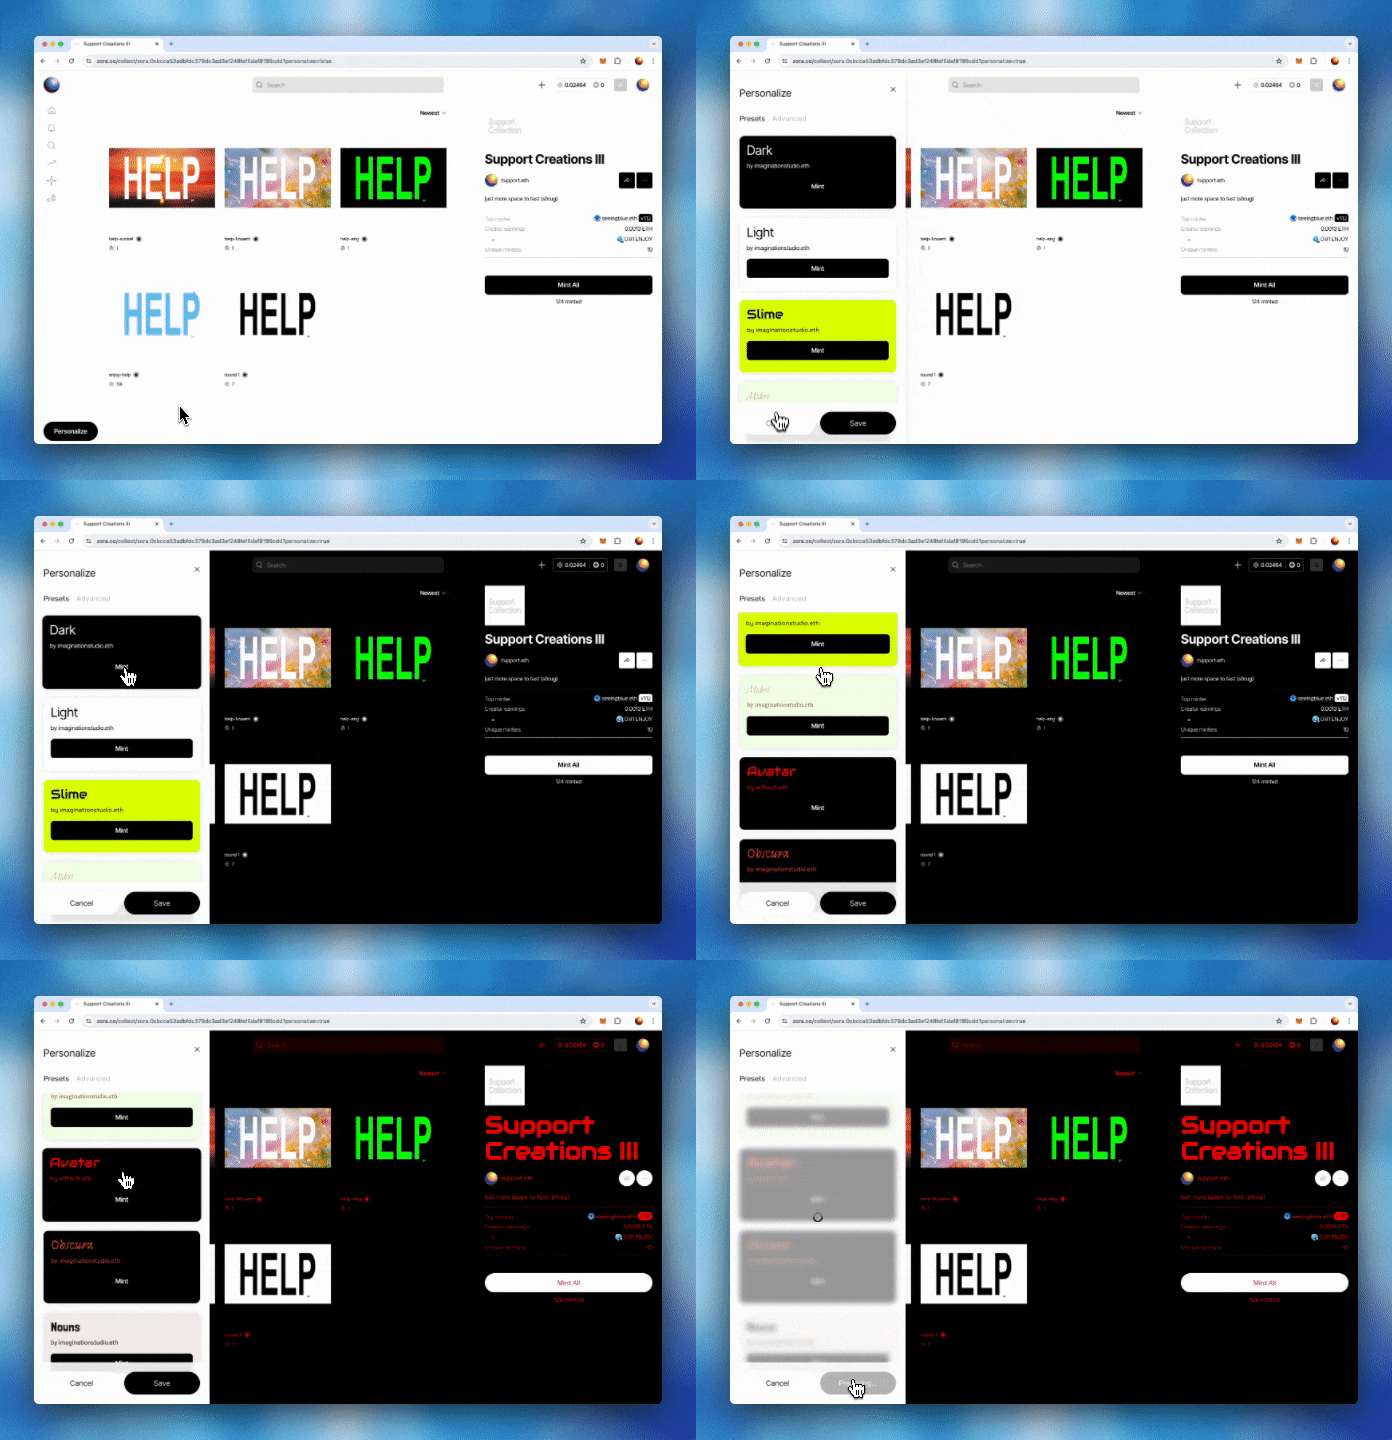
Our personalization presets give you a quick and easy way to update your mint page style. To add one of the presets to your mint page, refer to the following instructions:
Select ‘Personalize’, and you will open to the “Presets” section.
Scroll through the list of options and click 'Select' to get a preview of how you will view your mint page. You can use ‘Revert’ to undo any changes.
Once you have chosen your desired preset, select ‘Save’ and confirm the transaction prompted by your wallet. This will save your personalization onchain
2. Advanced Personalization:
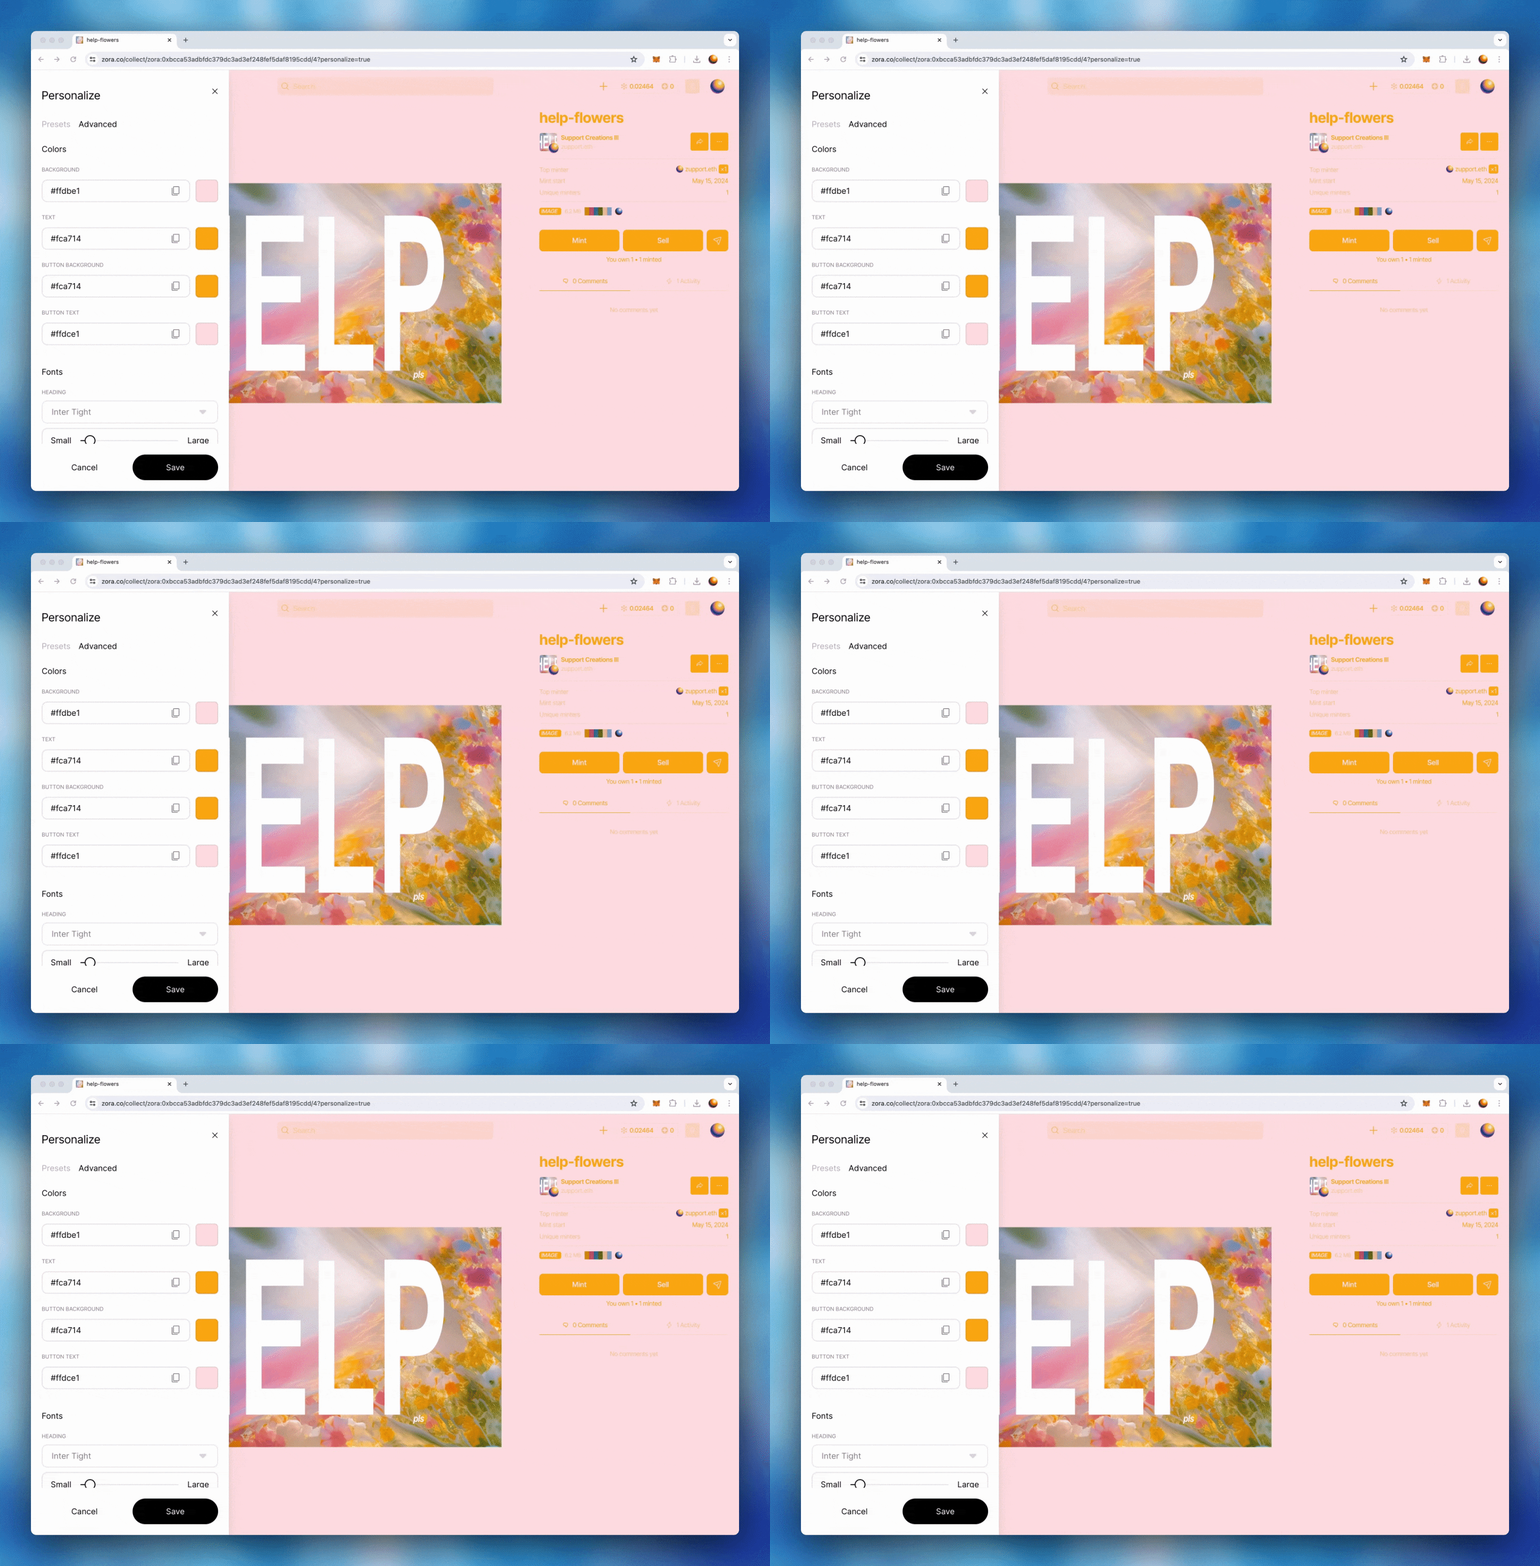
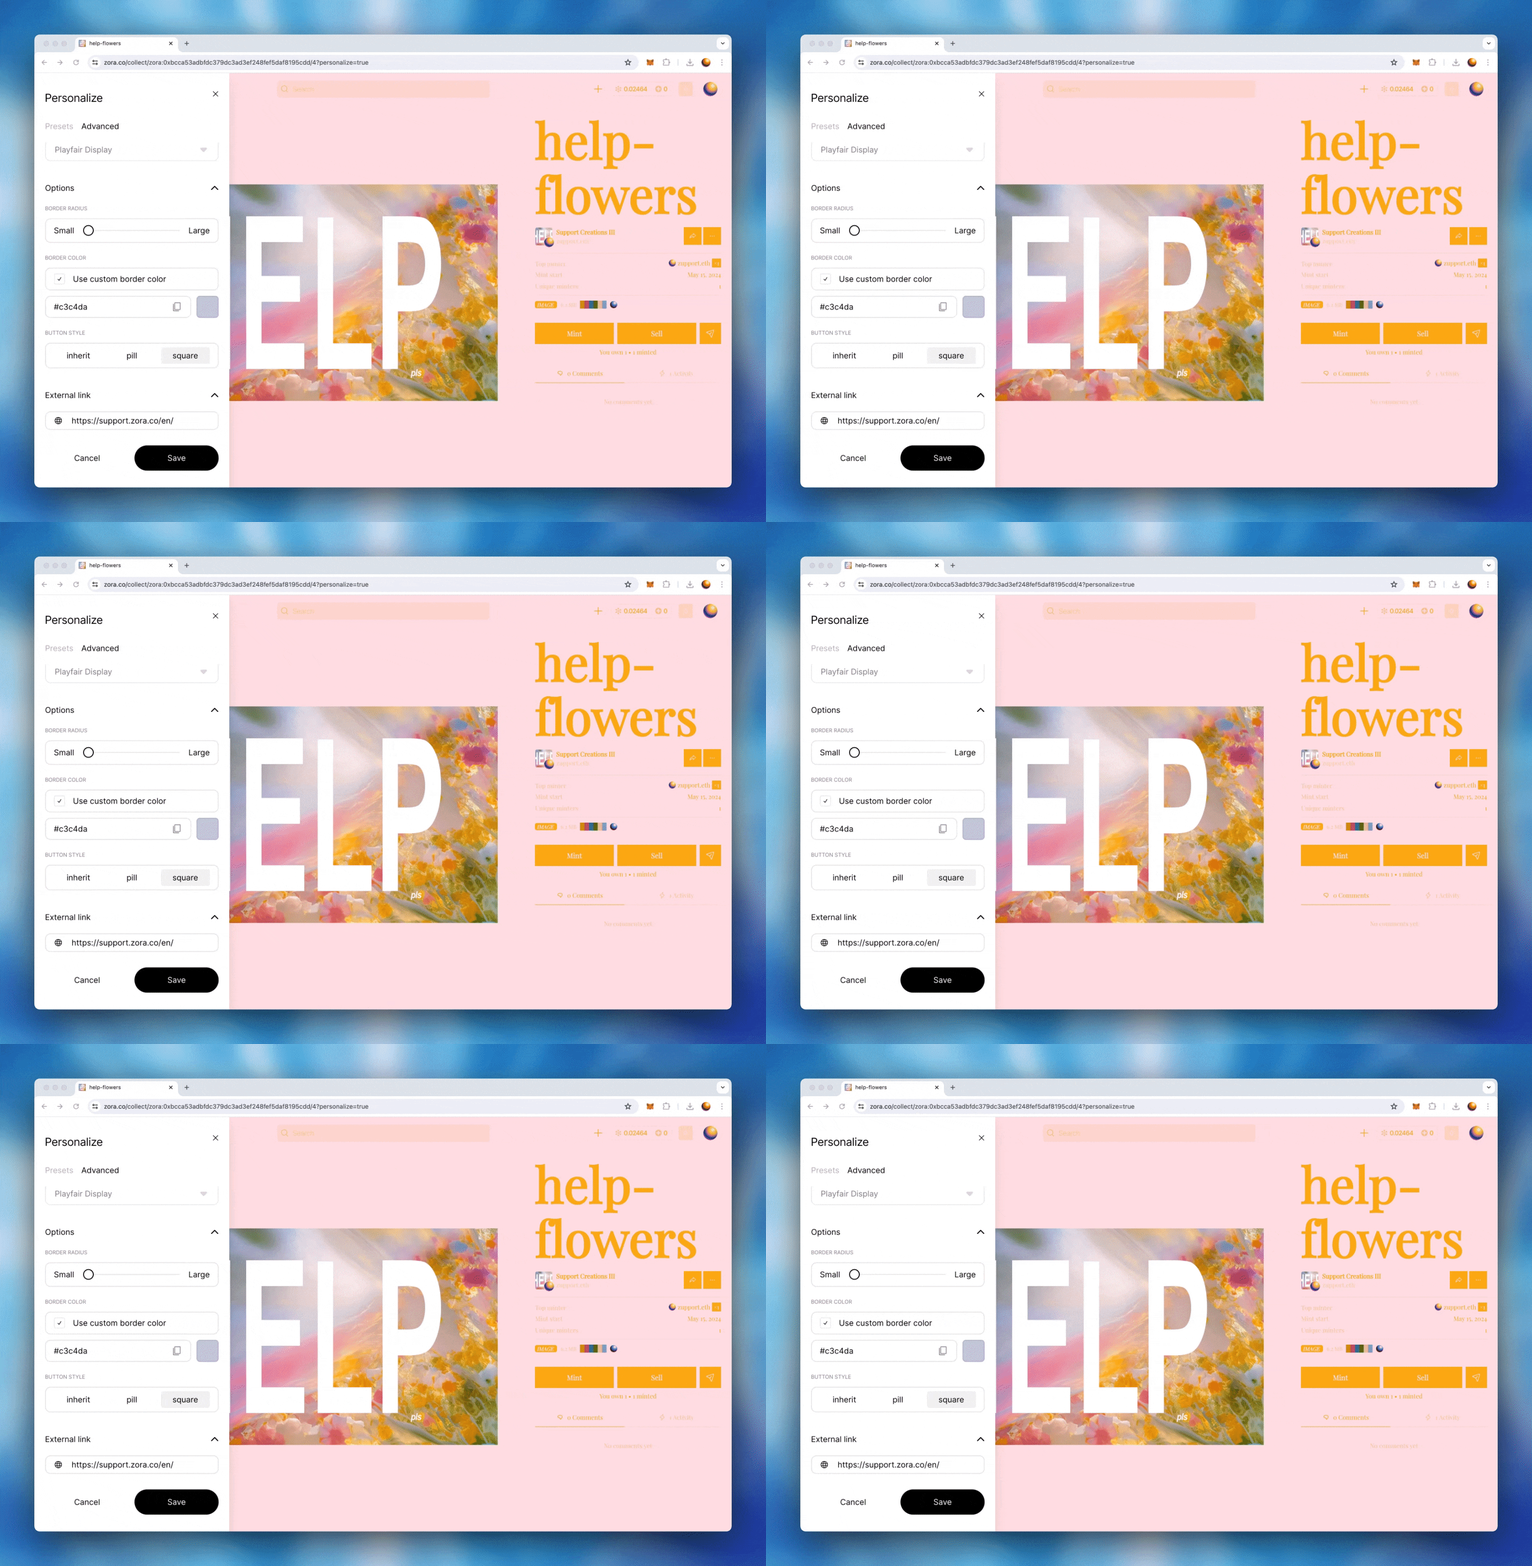
Advanced personalization gives you control over your mint page and allows you to personalize your color themes, fonts, buttons and NFT previews. To use this feature, select ‘Personalize’ and open the 'Advanced' tab.
You can create your theme using the color picker or by entering RGB, HSL or HEX values. If you want to pick a color from anywhere on your page or from your NFTs themselves, you can also use the eyedrop tool to select them. You have control over the color of your text, background, border, button and button text.
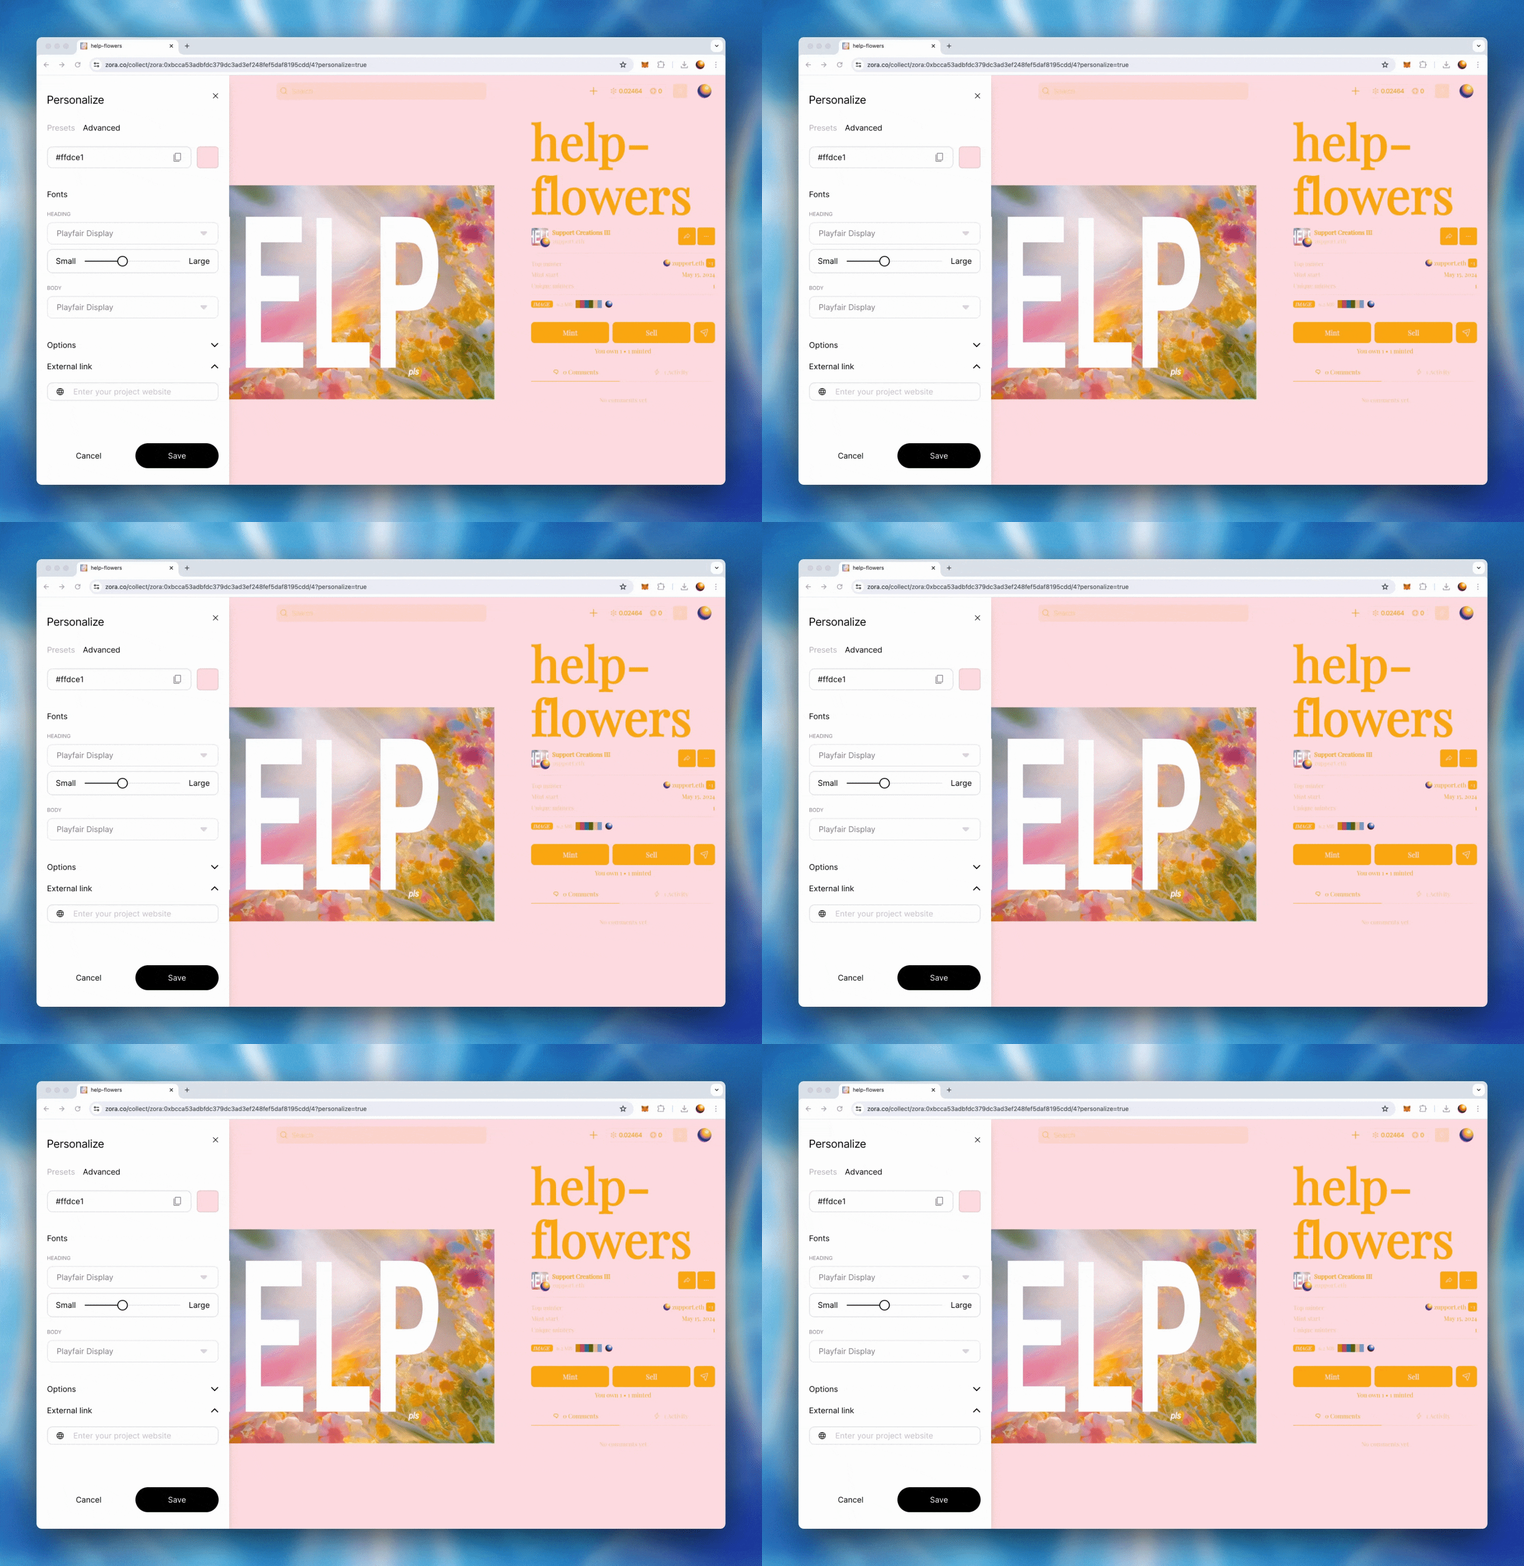
Continue crafting your mint page by choosing the font styles and the sizing for your headings, body and captions. *There is no option to add any custom fonts at this time
Using the sliding scale, you can set the border radius of your NFT preview windows ranging from small (square edges) to large (rounded corners).
Select your button shape.
Inherit: This will give your button the same border-radius you defined for your NFT preview windows above.
Pill (default shape)
Square
If you would like to link to your social media accounts, community spaces or an existing website, you can add those links to the sections provided.
If you want to change and reset your mint page, click ‘Cancel’, and you can start your personalization again.
3. Save your Personalization
With your mint page personalized, the final step is for you to save your changes. Clicking 'Save' will then require you to confirm a transaction. Once your transaction has been confirmed, your updates will be saved onchain.
Need help or have some questions?
If you would like more help, don't hesitate to get in touch with our support team via our help centre or tag us on X (formerly Twitter) and Farcaster.
