Personalizing your Profile
Take control of your profile page with our personalization feature. Personalization lets you update and edit your profiles’ colors, fonts and format. Follow our guide below to learn how to use this feature.
If visual learning is your preferred style, look through some amazing examples from creators on ZORA.
Otherwise, continue below and follow our in-depth walkthrough.
**Personalizing your profile is done on Zora Network and does require you to pay a small gas fee to save your changes.
Personalizing your Profile
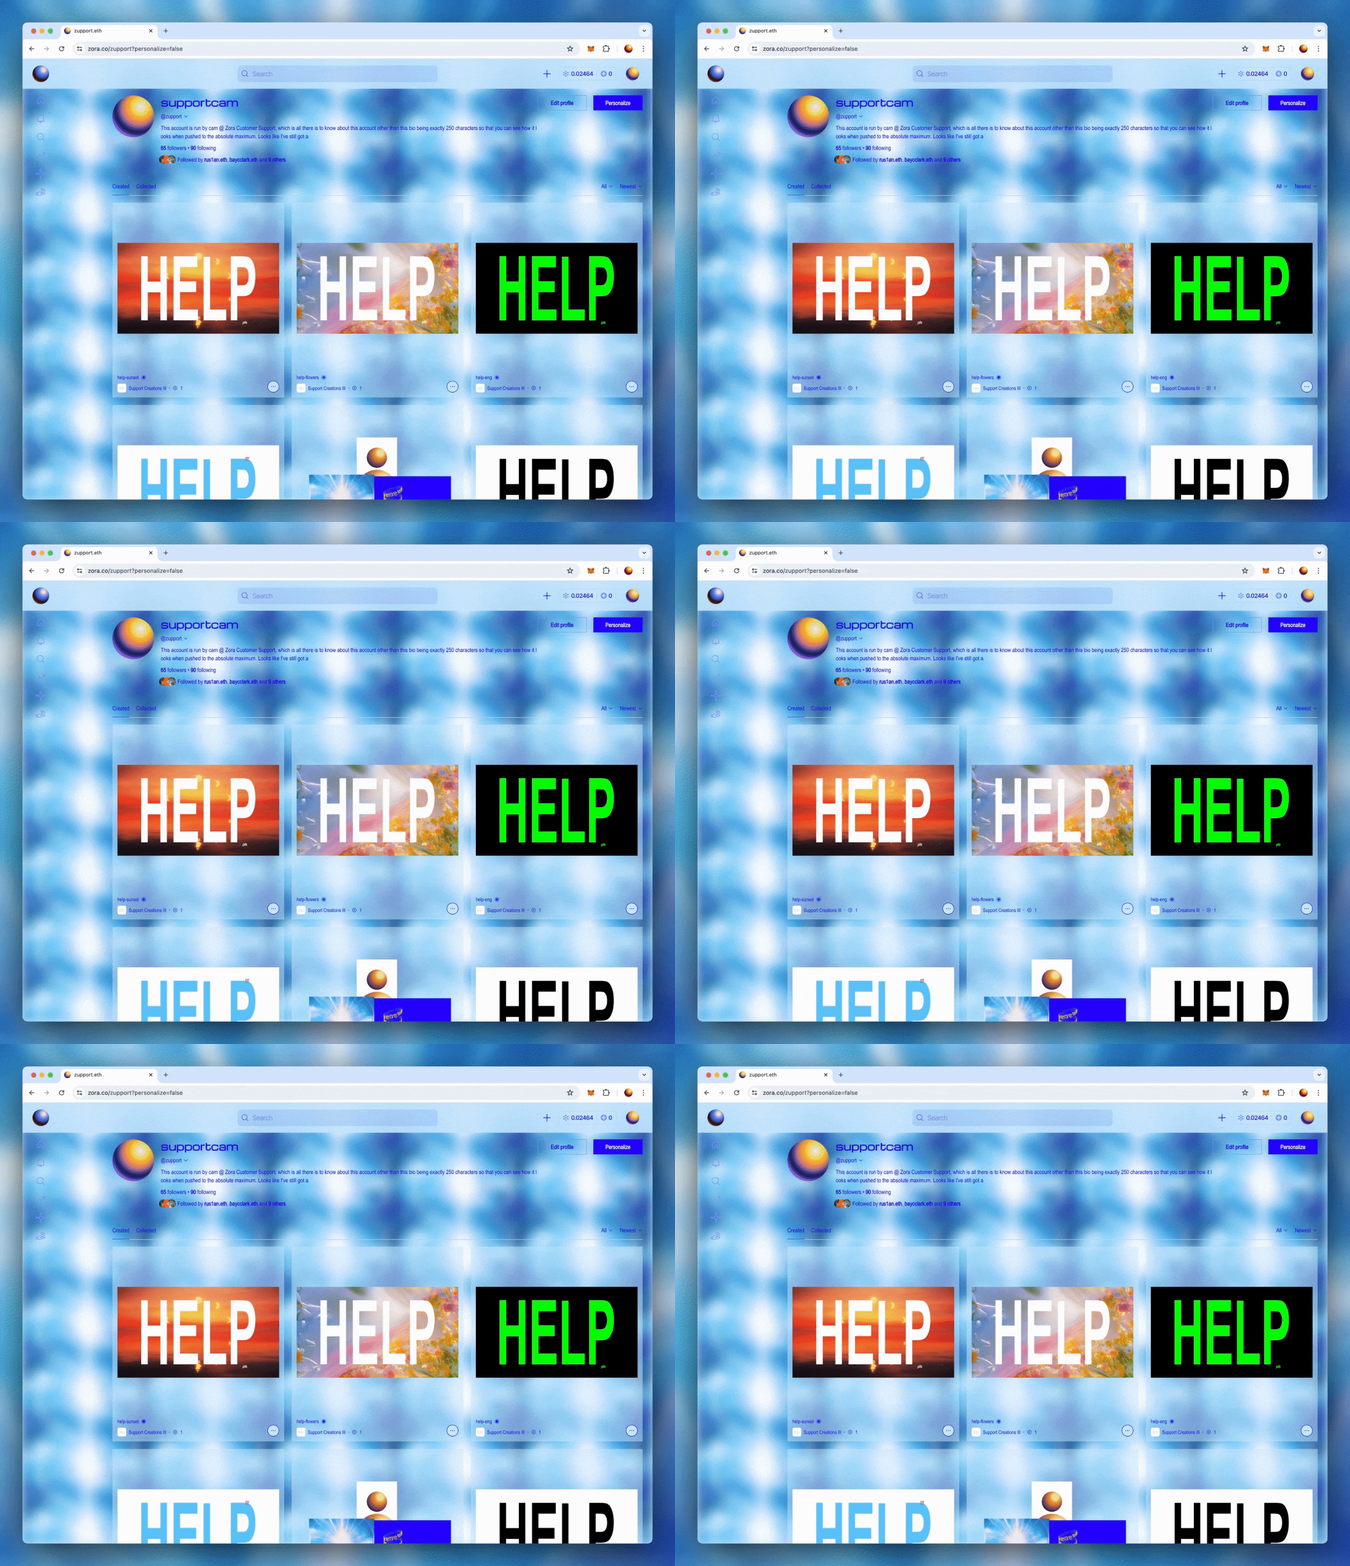
With your profile verified, it is time to make it yours truly. Your profile can be fully personalized to whatever you can imagine.
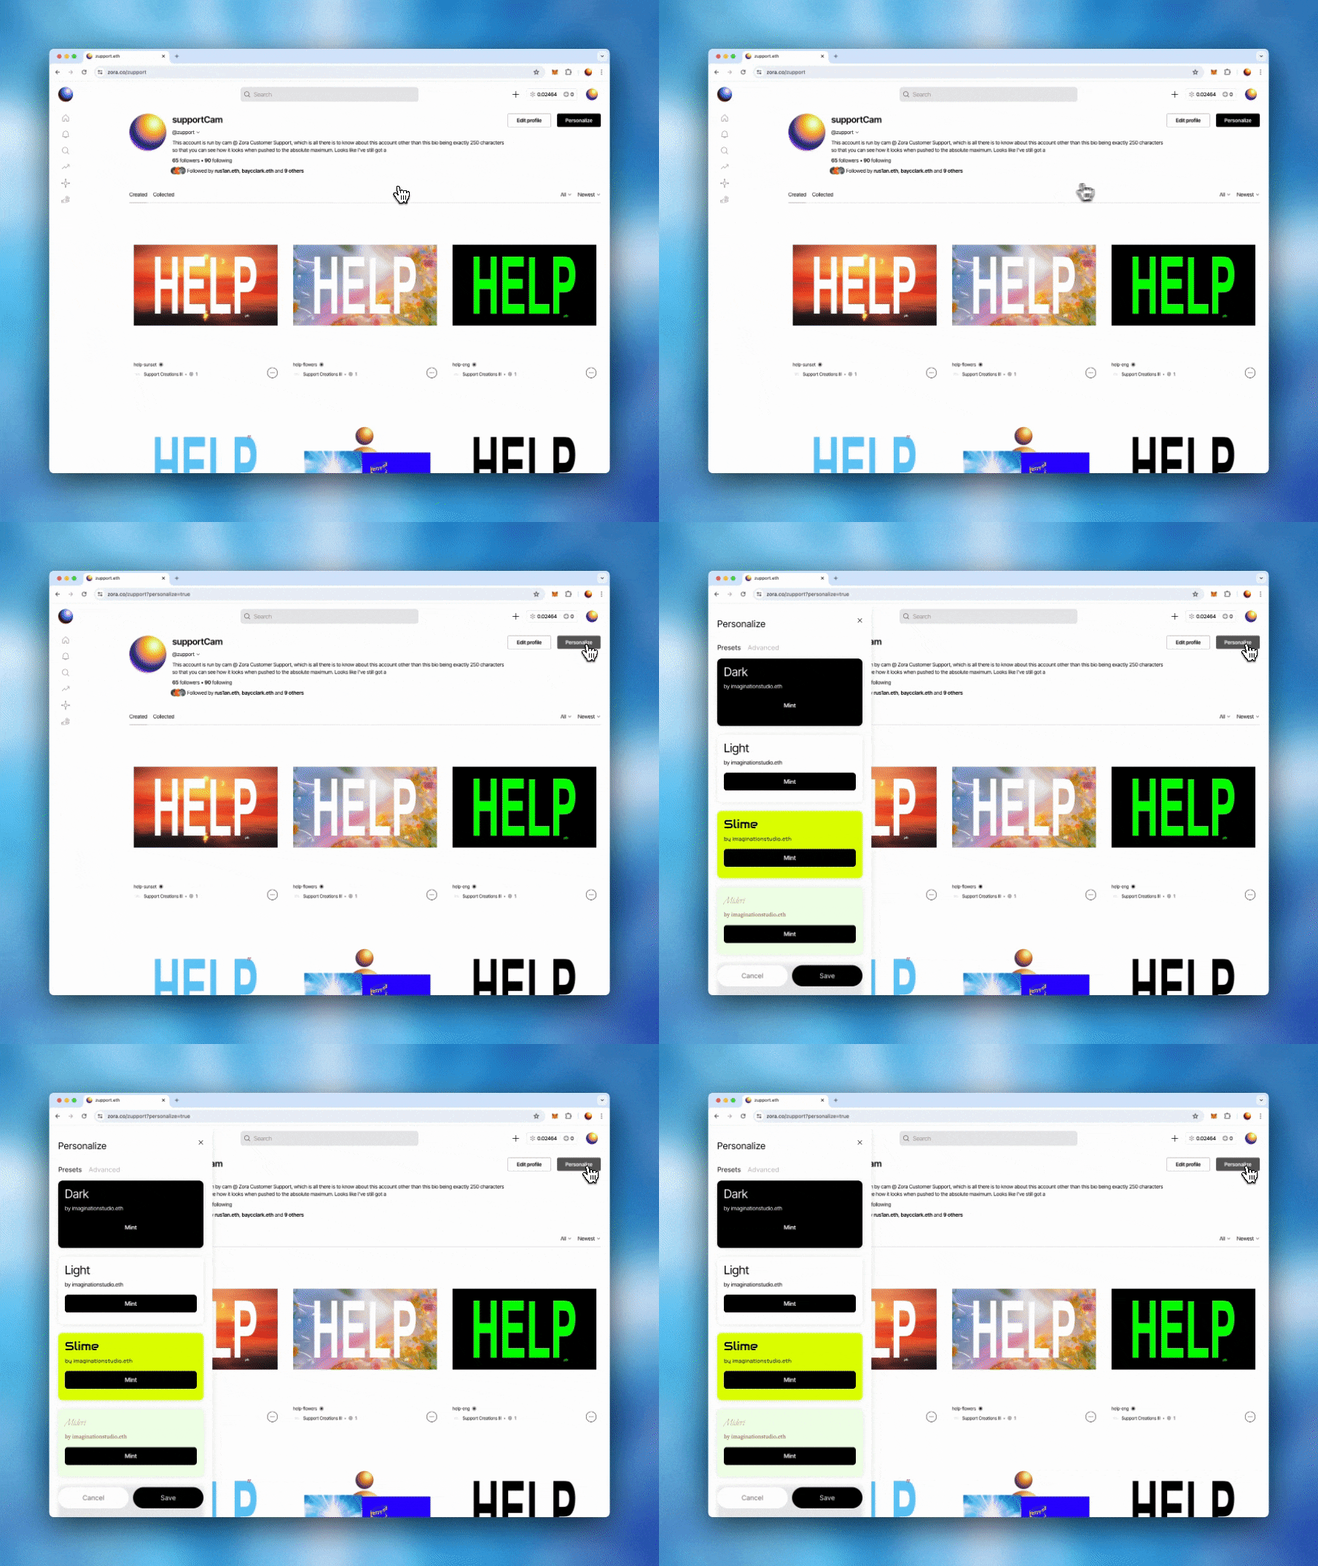
While on your profile page, select 'Personalize profile' in the bottom right-hand corner.
There are two options available when creating your personalized profile:
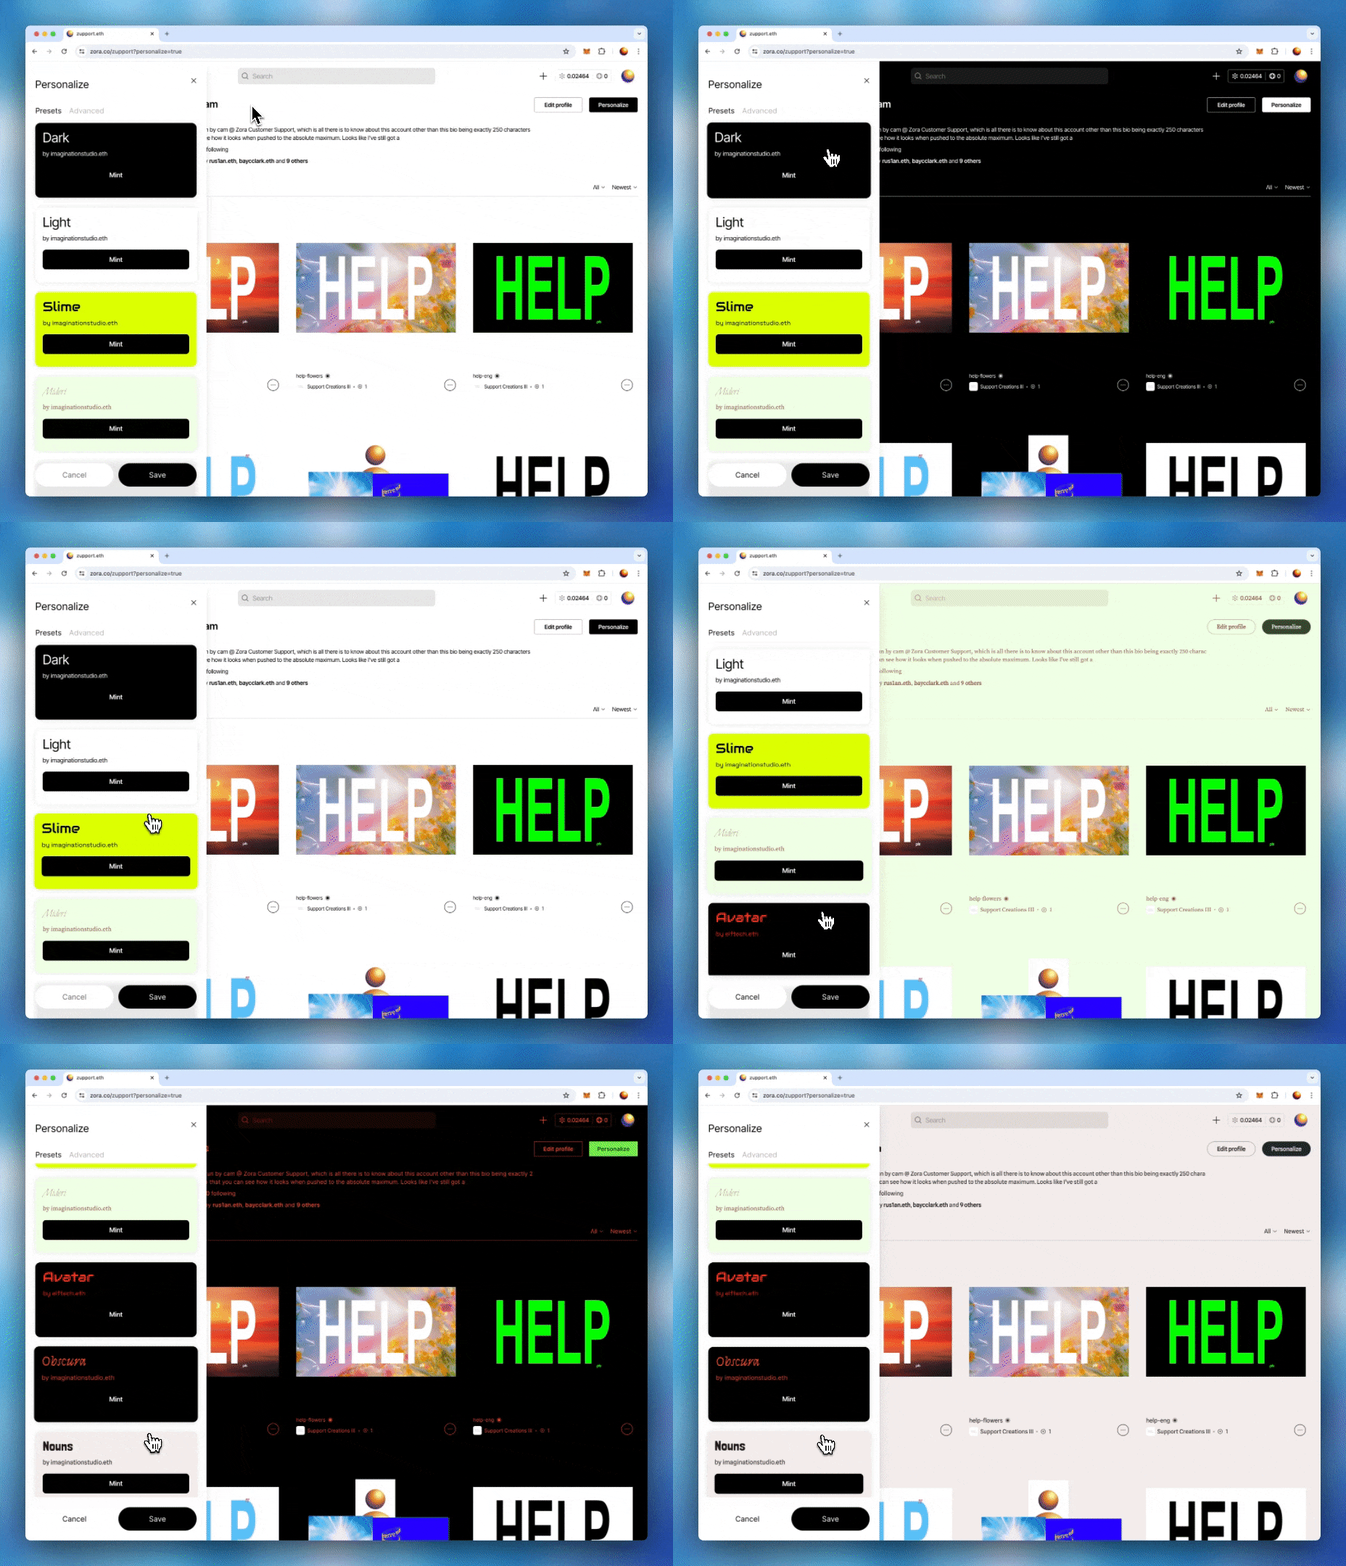
The first is to use our personalization presets, which offer pre-made templates that you can use to change the design of your profile easily.
If you want to level up your personalization, you can use the theme tab to control the color, fonts and format of your profile.
1. Personalization Presets:
Our personalization presets give you a quick and easy way to update your profile style. To add one of the presets to your profile, refer to the following instructions:
Select ‘Personalize’, and you will open to the “Presets” section.
Scroll through the list of options and select a template to get a preview of how you will view your profile. You can use ‘Cancel’ to undo any unwanted changes.
Once you have chosen your desired preset, select ‘Save’ and confirm the transaction prompted by your wallet. This will save your personalization onchain.
2. Personalized Theme:
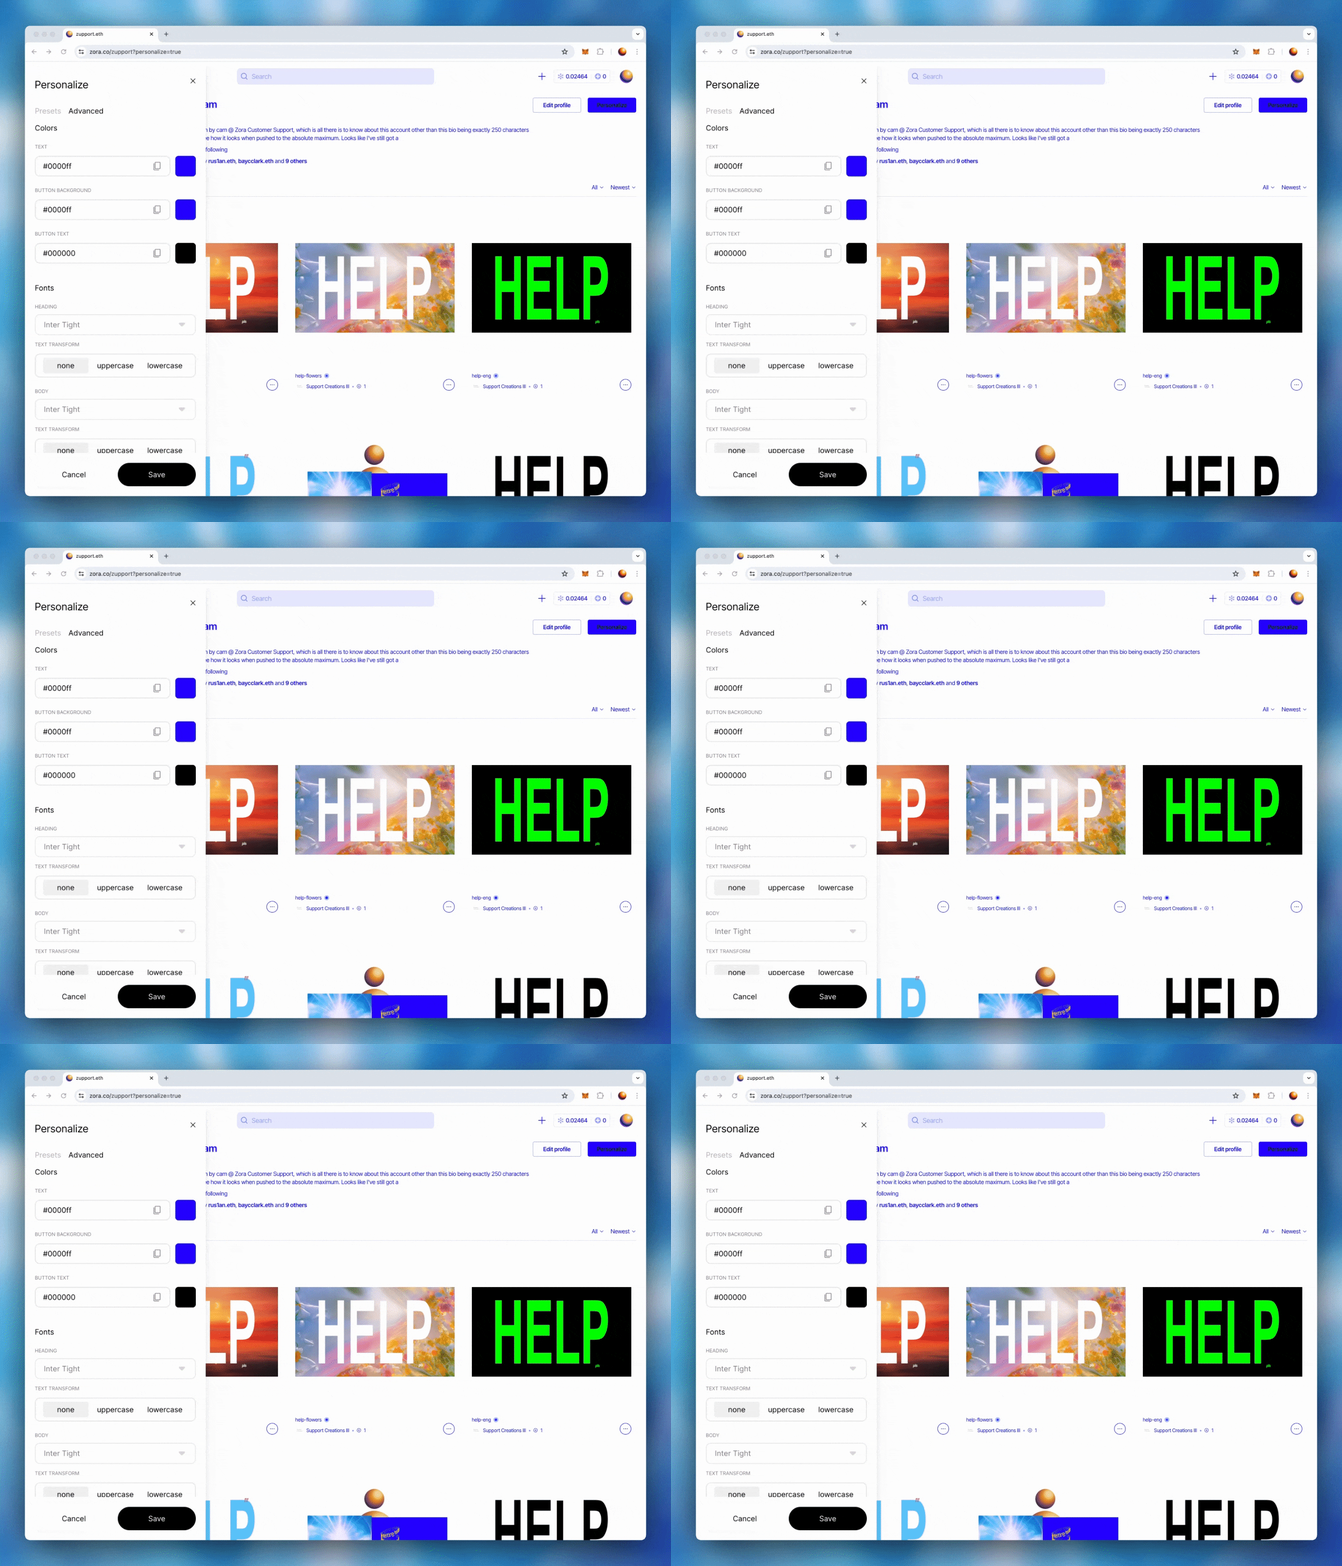
Advanced personalization gives you control over your profile and lets you personalize your color themes, fonts, buttons and NFT previews. To use this feature, select ‘Personalize’ and open the 'Theme' tab.
You can create your theme using the color picker or by entering RGB, HSL or HEX values. If you want to pick a color from anywhere on your page or from your NFTs, you can also use the eyedrop tool to select them. You have control over the color of your text, border, button and button text.
Continue crafting your profile by choosing the font styles and the sizing for your headings, body and captions.
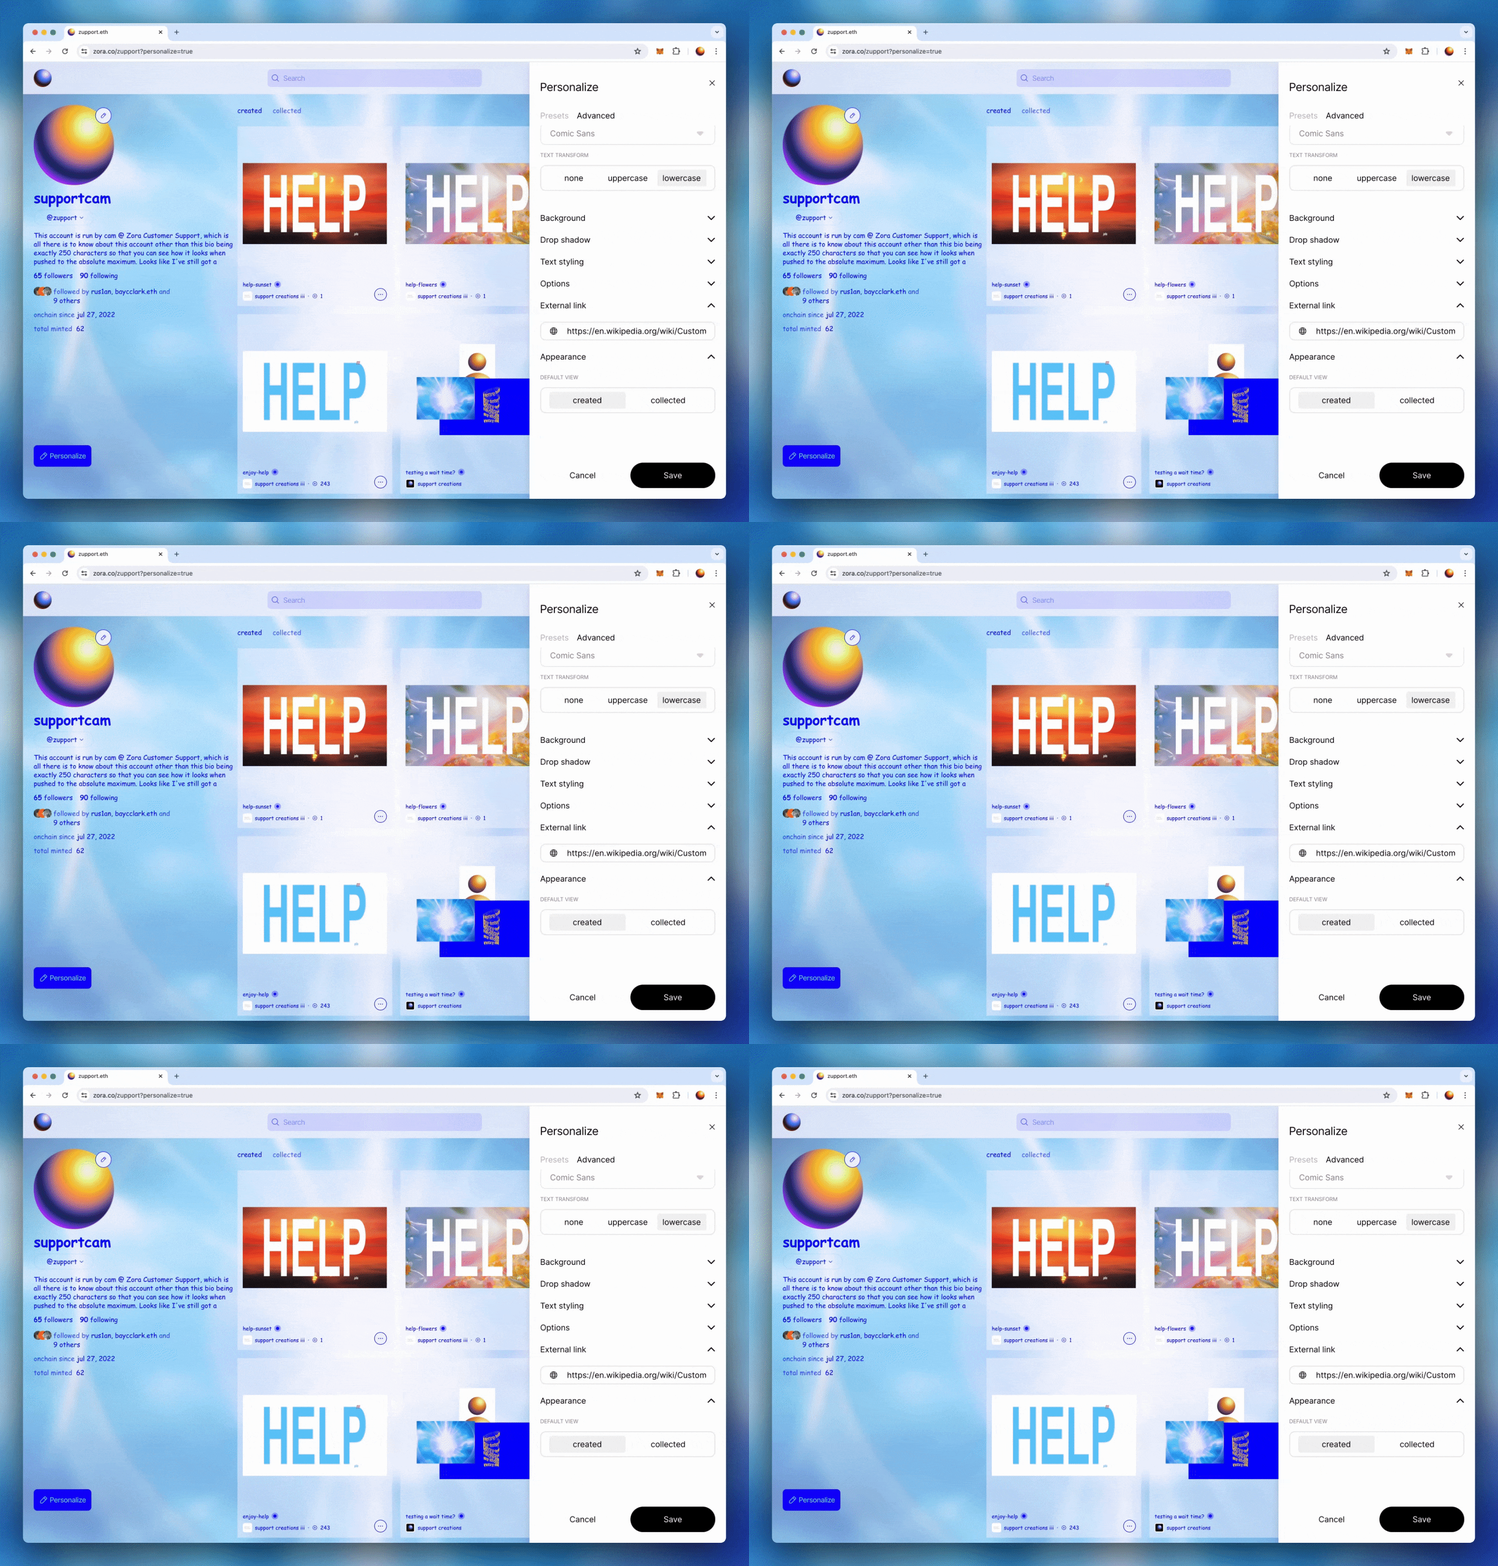
You also have the option to transform your text to all uppercase, all lowercase or neither.
**You are unable to add your own custom text
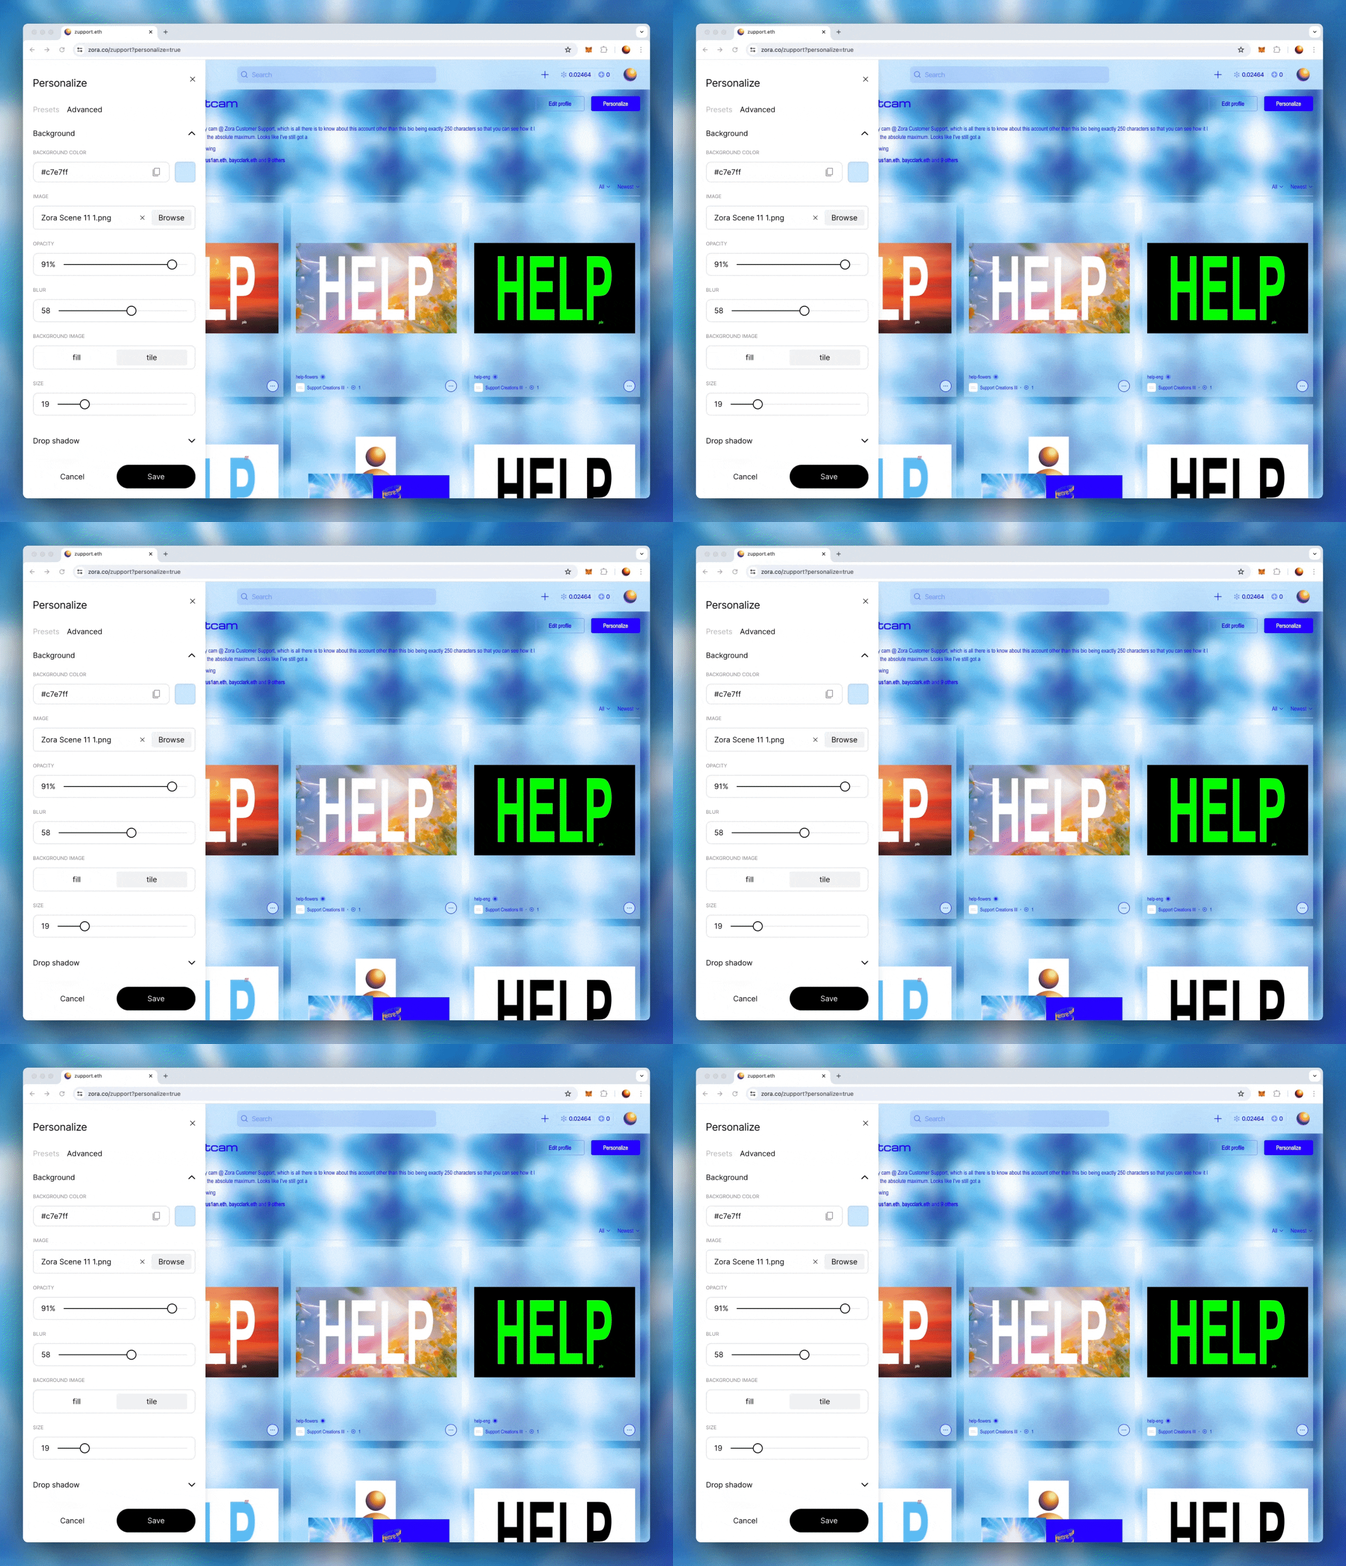
Format the background of your profile. You can add a solid color or select an image as your background. Supported image types are PNG, JPEG and GIF.
IF you are using an image as your background, you will then be able to choose its:
Opacity
Blur
Fill or Tile: If you tile your background, you can also set the size of the tiles.
Add a drop shadow to your token previews. Edit your drop shadows color, spread, blur and opacity by expanding the "Drop shadow" menu.
Style your text with shadows or highlights.
Shadow: Update your colour, opacity, position and the blue of your text shadow.
Highlight: Update the color and opacity of your highlight.
The 'Options' will allow you to give your token previews a border-radius, update your border colors and change your button styling. Your button styling can be either of the following:
Inherit: This will give your button the same border-radius you defined for your NFT preview windows above.
Pill (default shape)
Square
If you want to change and reset your profile, click ‘Revert’, and you can start your personalization again.
3. Profile view and external links:
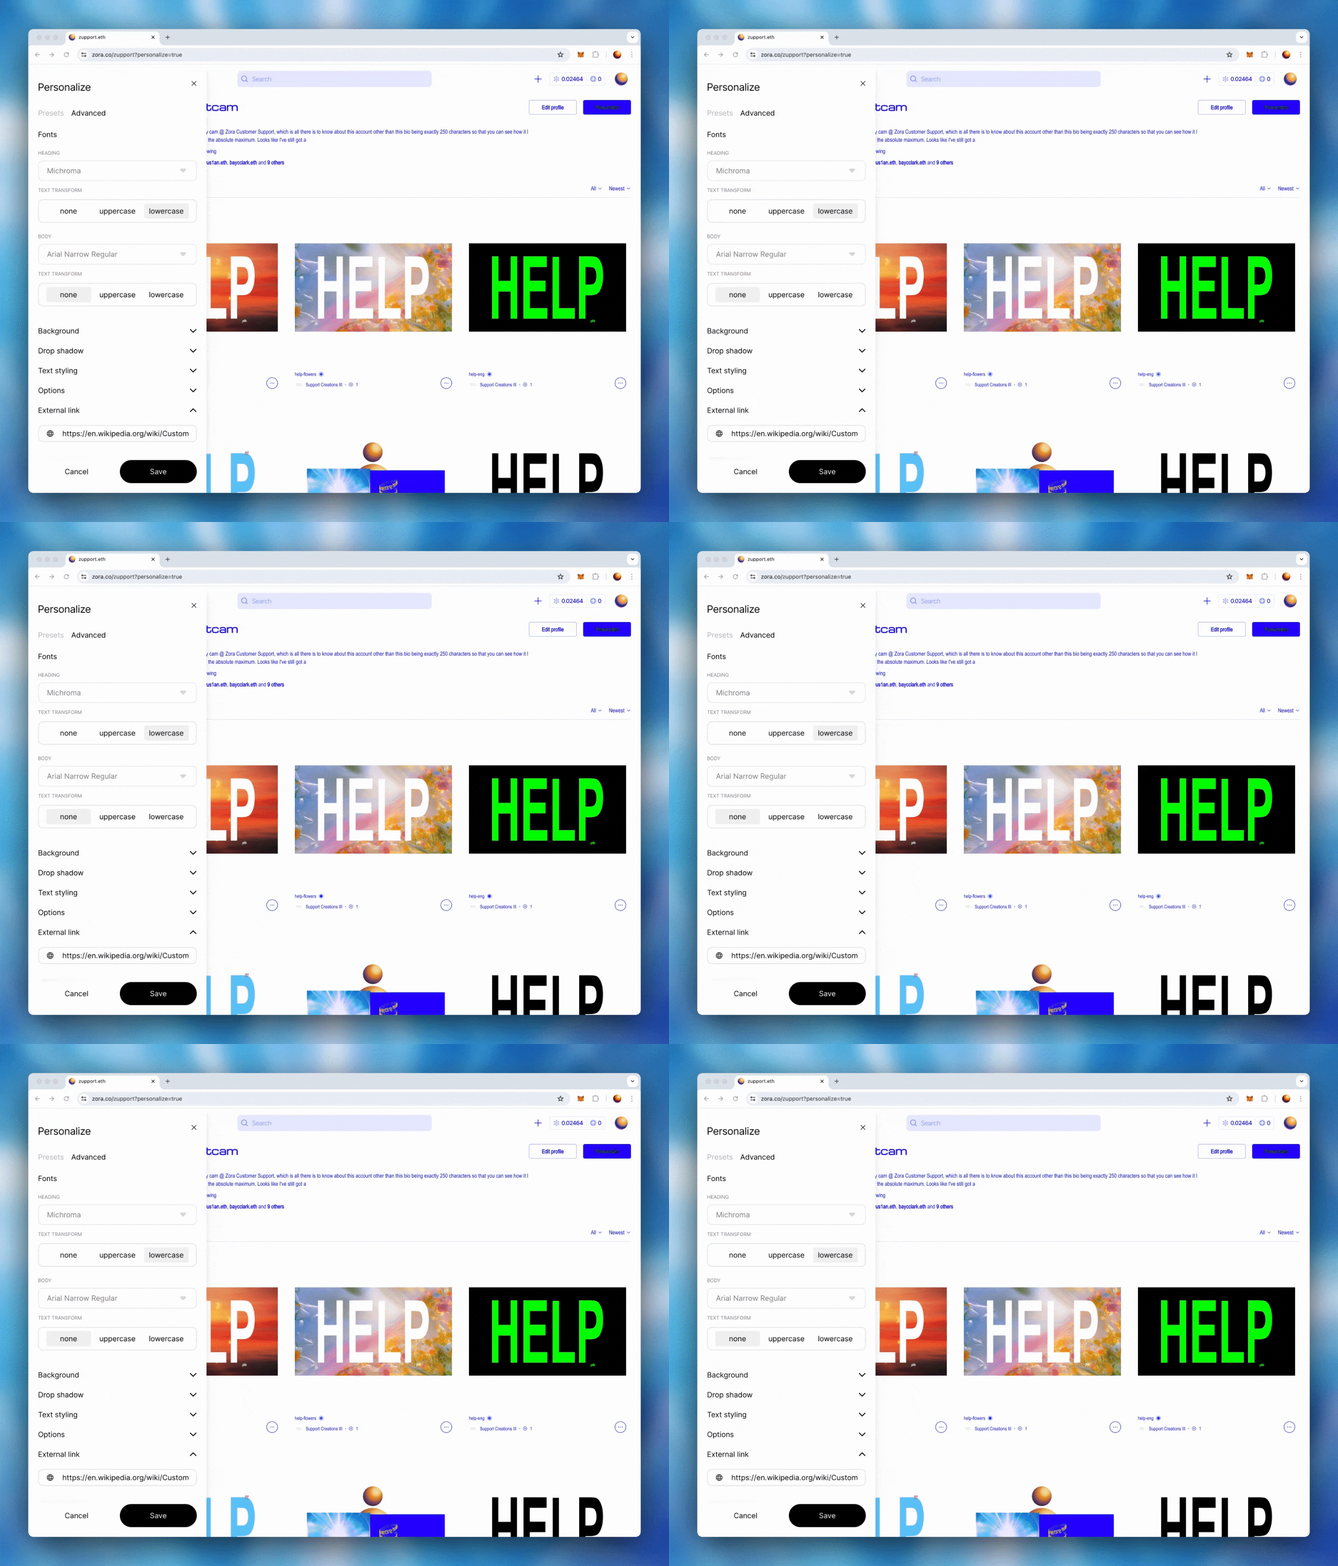
Select the 'Profile' tab to update your profile view and add links to your related social accounts.
Toggle between 'Created' and 'Collected' to decide which will be the default view when you or others view your profile.
Connect your socials and website to your ZORA Profile by entering your details in the spaces given.
4. Save Your Profile:
With your profile personalized, the final step is to save your changes. Clicking 'Save' or 'Update Records' will require you to confirm a transaction. Once your transaction has been confirmed, your updates will be saved onchain.
Your profile is now yours. Enjoy!
Need help or have some questions?
If you would like more help, don't hesitate to get in touch with our support team via our help centre or tag us on X (formerly Twitter) and Farcaster.

