ZORA101: How to post on Zora
At Zora, we aim to make it as easy and enjoyable as possible for creators to bring their imagination and creativity onchain. It's now even easier to realize the value of your work on Zora!
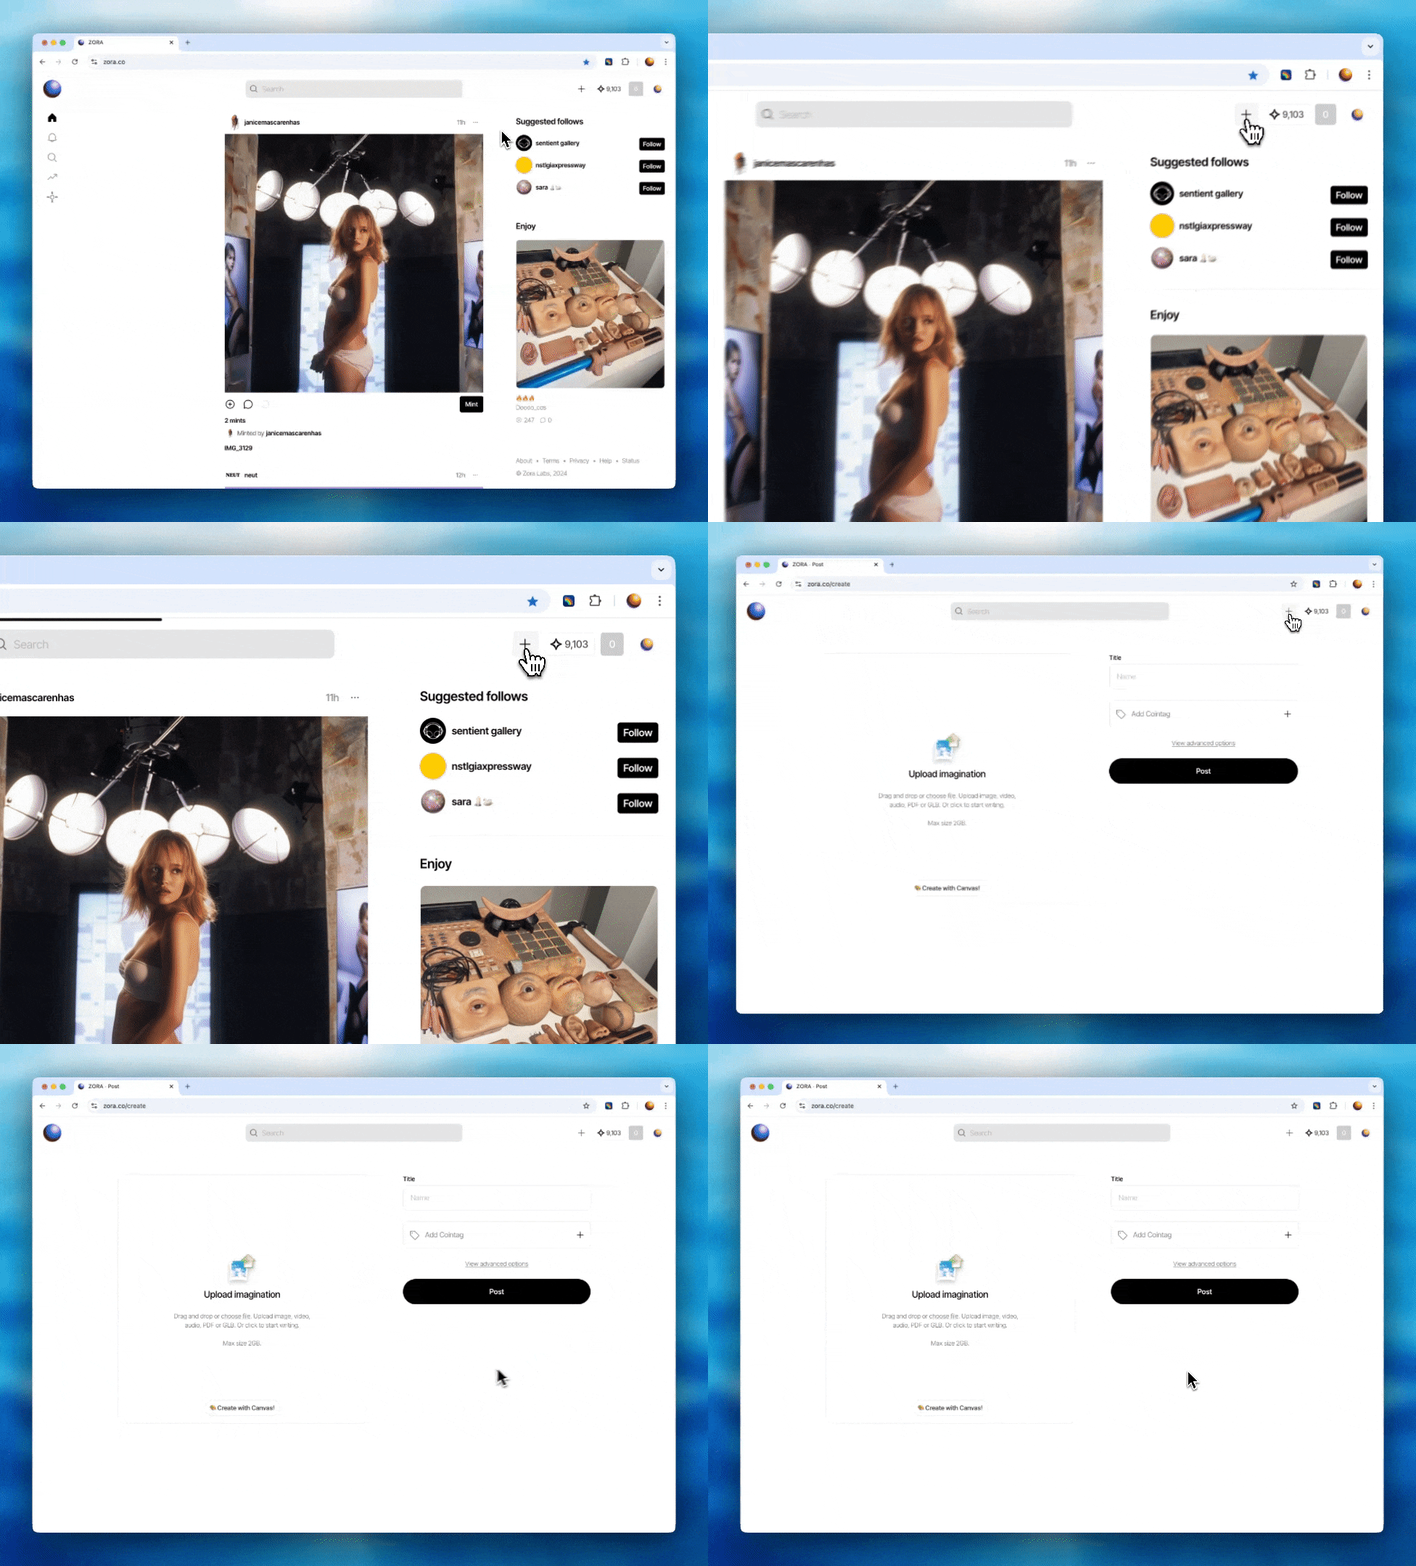
Ensure you are logged in to zora.co
Click the + Button in the top right corner to create your collection.
Want to test out your collection?
We recommend using our testnet before deploying any collection to the mainnet. Testing on the testnet provides a risk-free environment where you can ensure that your collection functions correctly and identify any potential issues before they occur on the mainnet, saving you time and ETH.
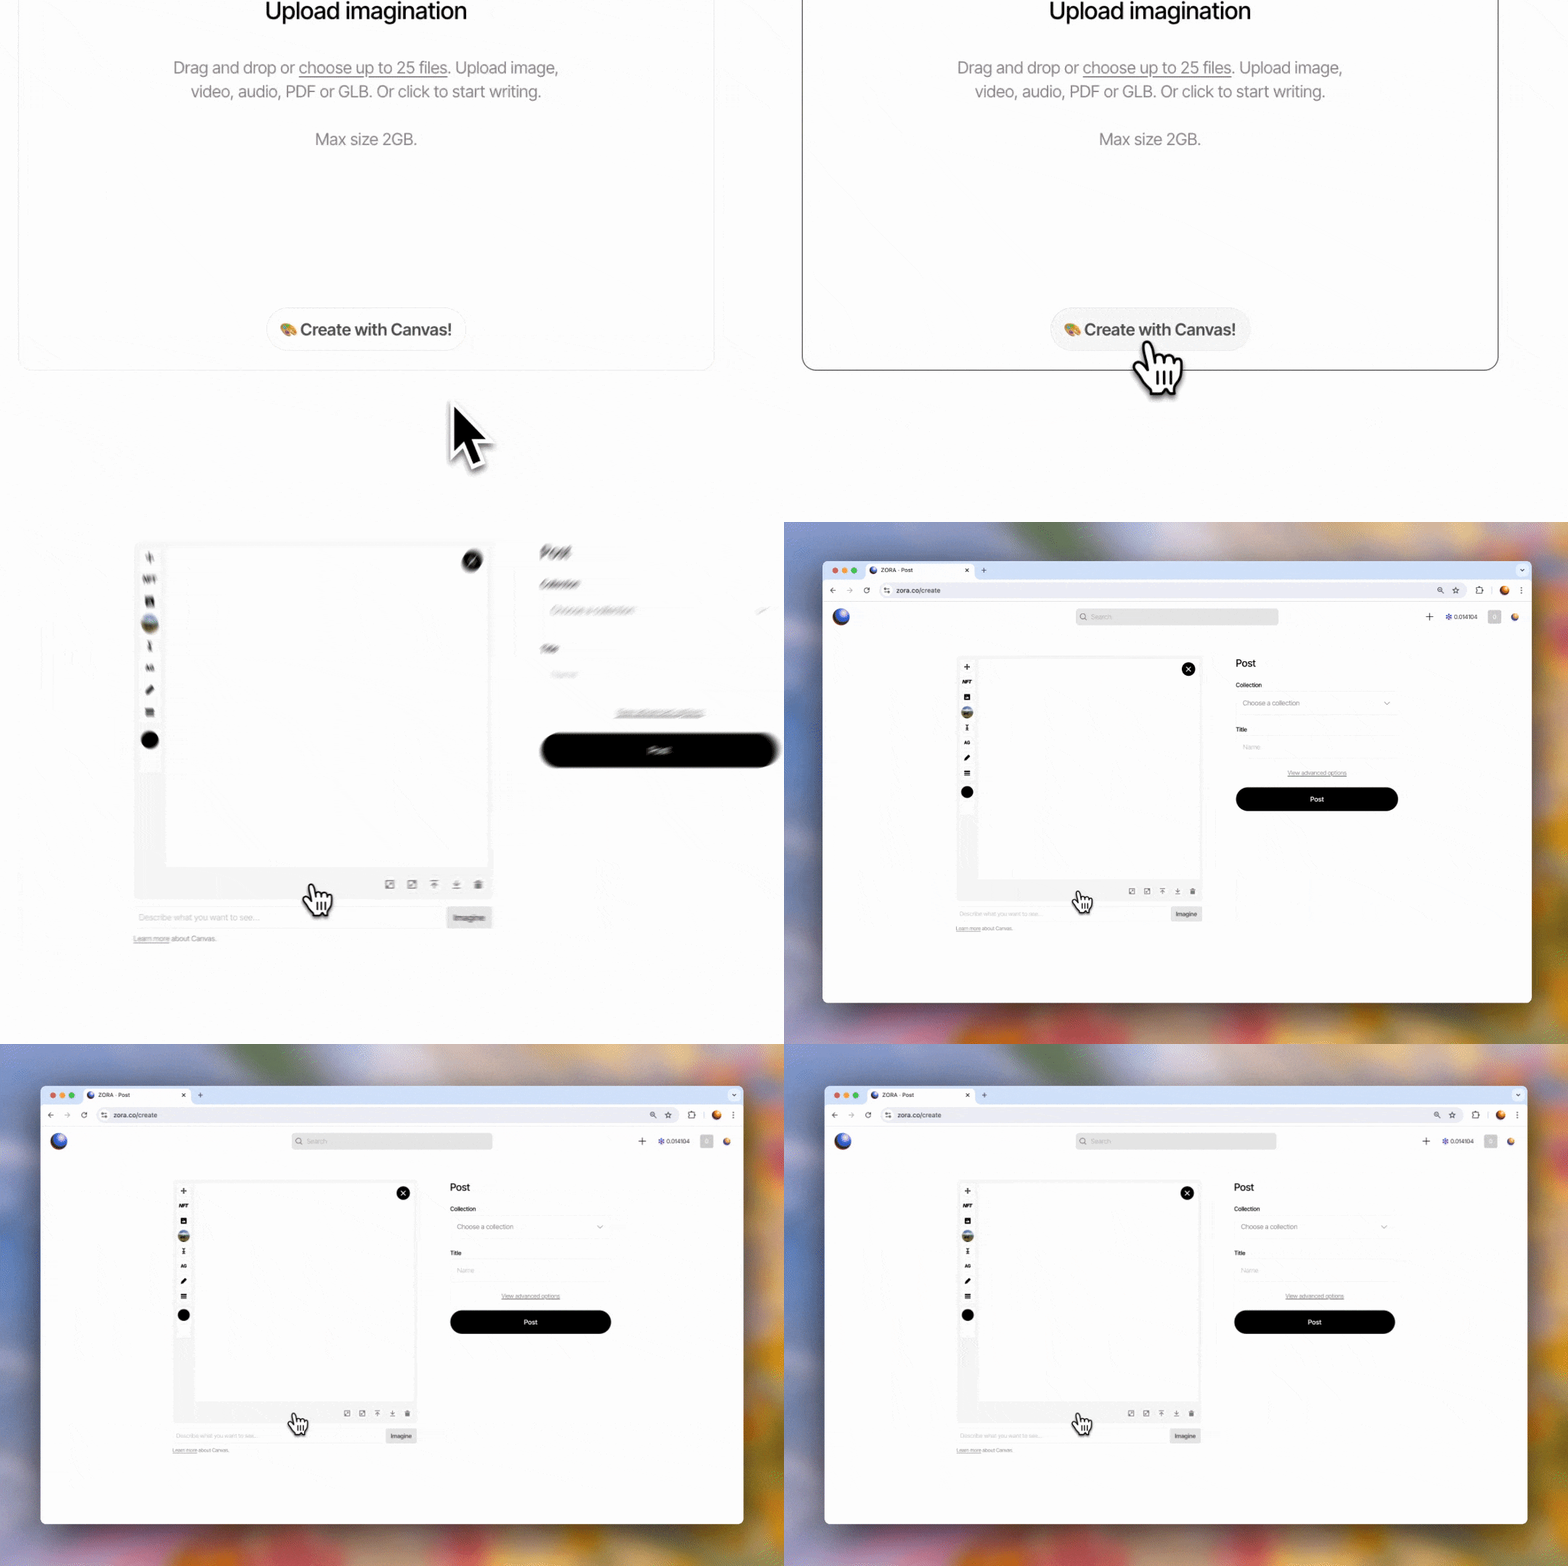
1. Upload your Media
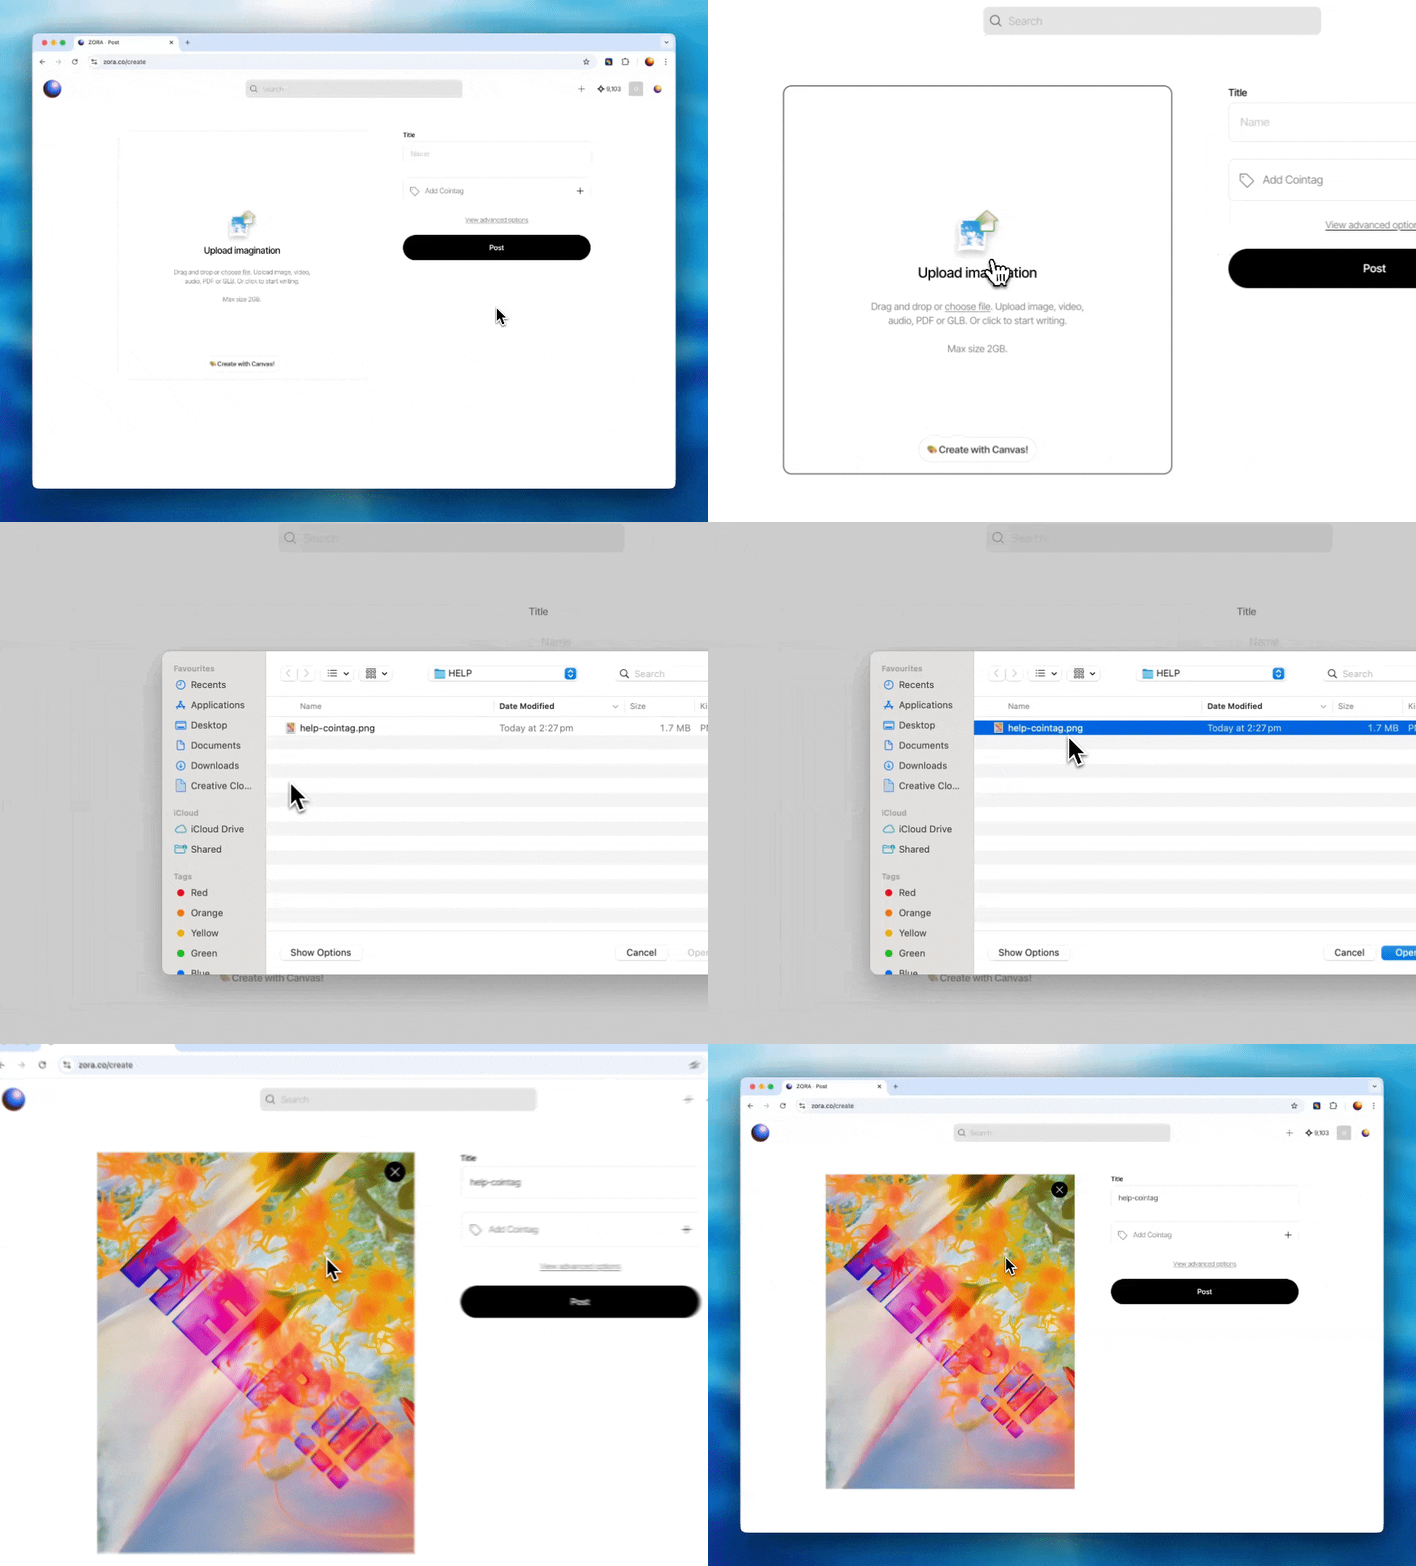
Upload the media files for your post. These files can be a video, gif, audio, PDF, 3D or image file type.
There is a max file size of 2GB. *The larger the file size, the longer it can take for your file to upload
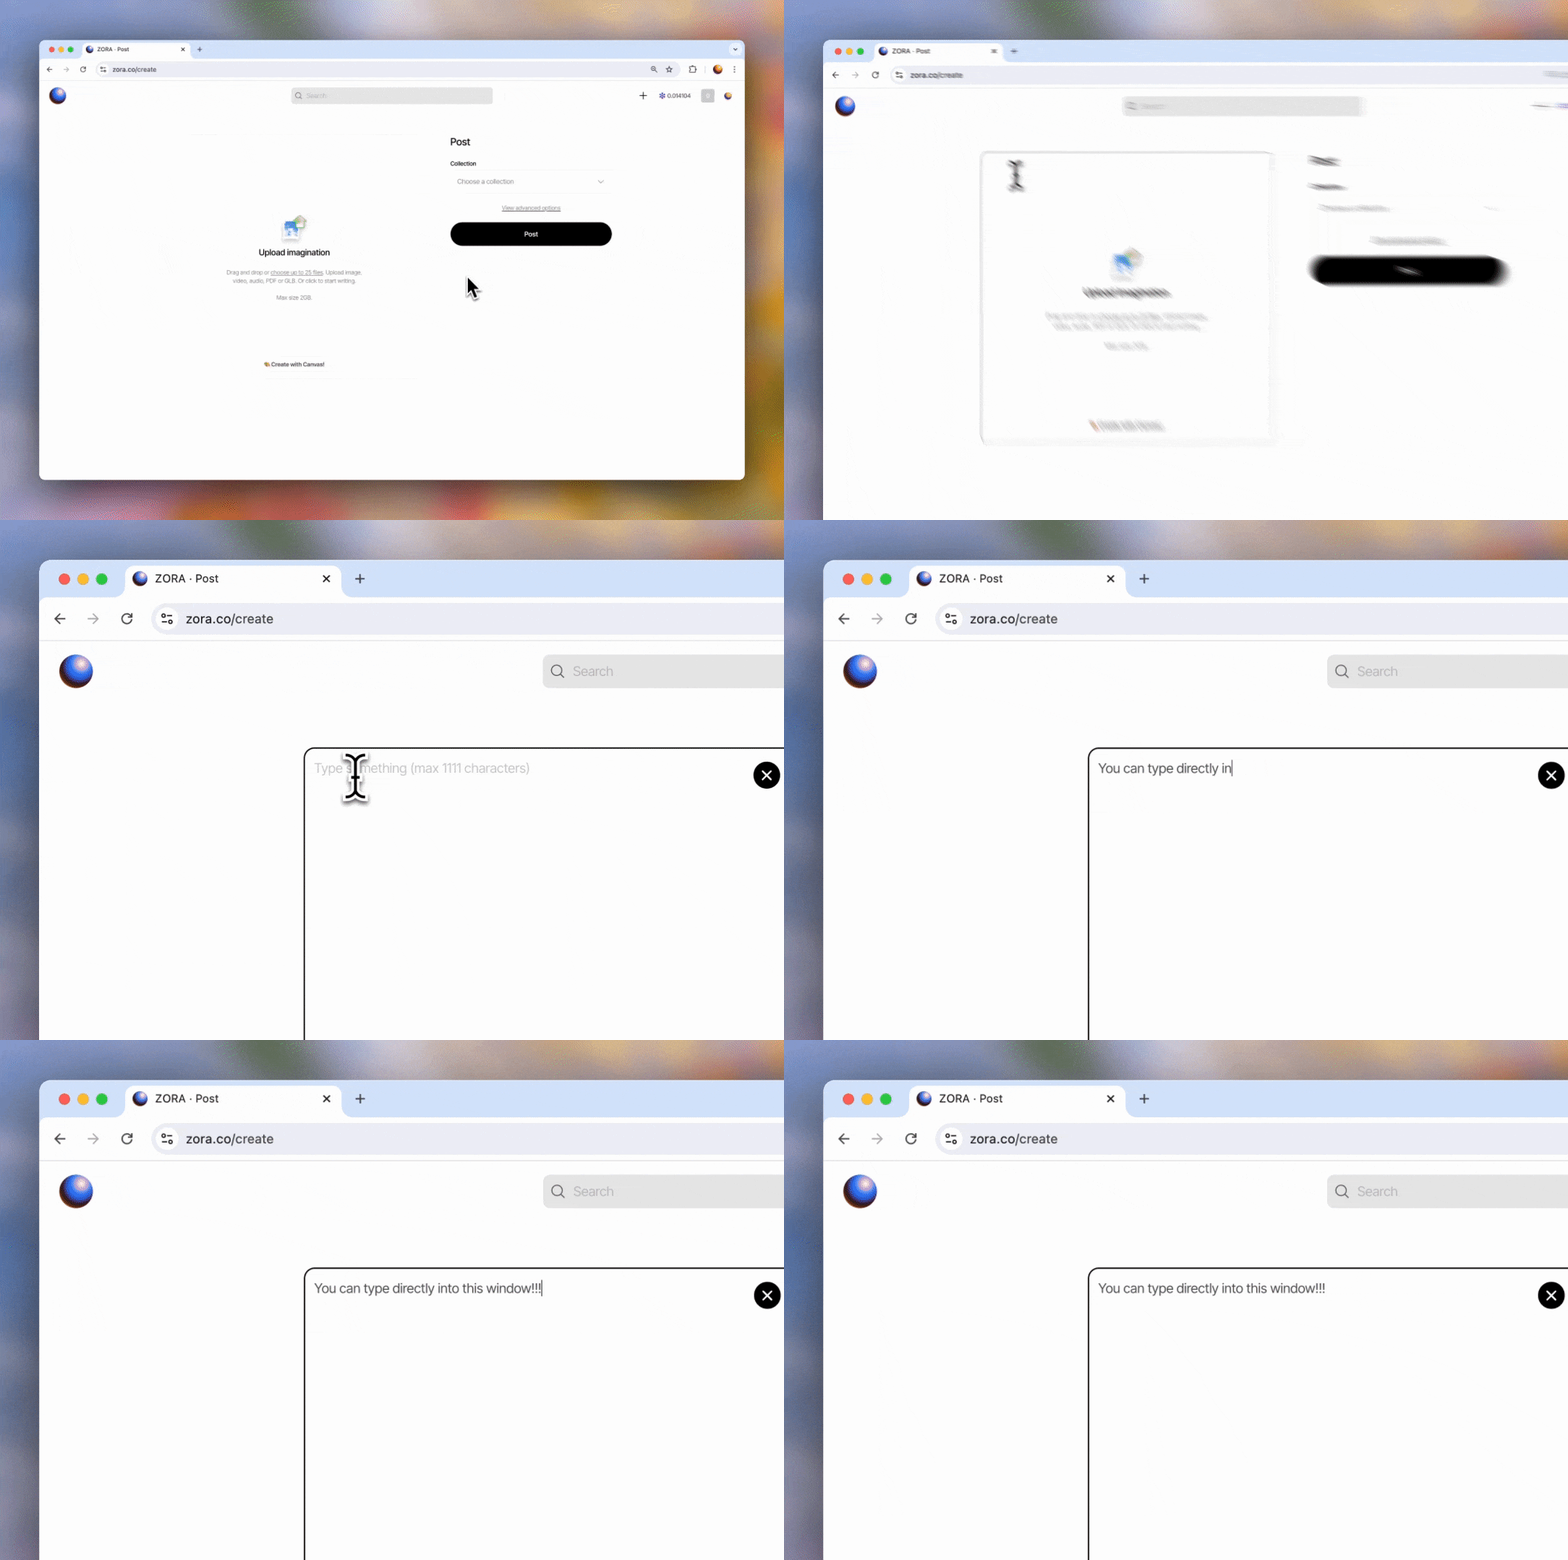
Want to mint a text NFT? Click anywhere in the upload box and type and/or paste your text.
Try Canvas! Use our canvas tool to create your own NFTs by adding your own media, remixing featured NFTs, entering AI prompts, or simply drawing on the canvas.
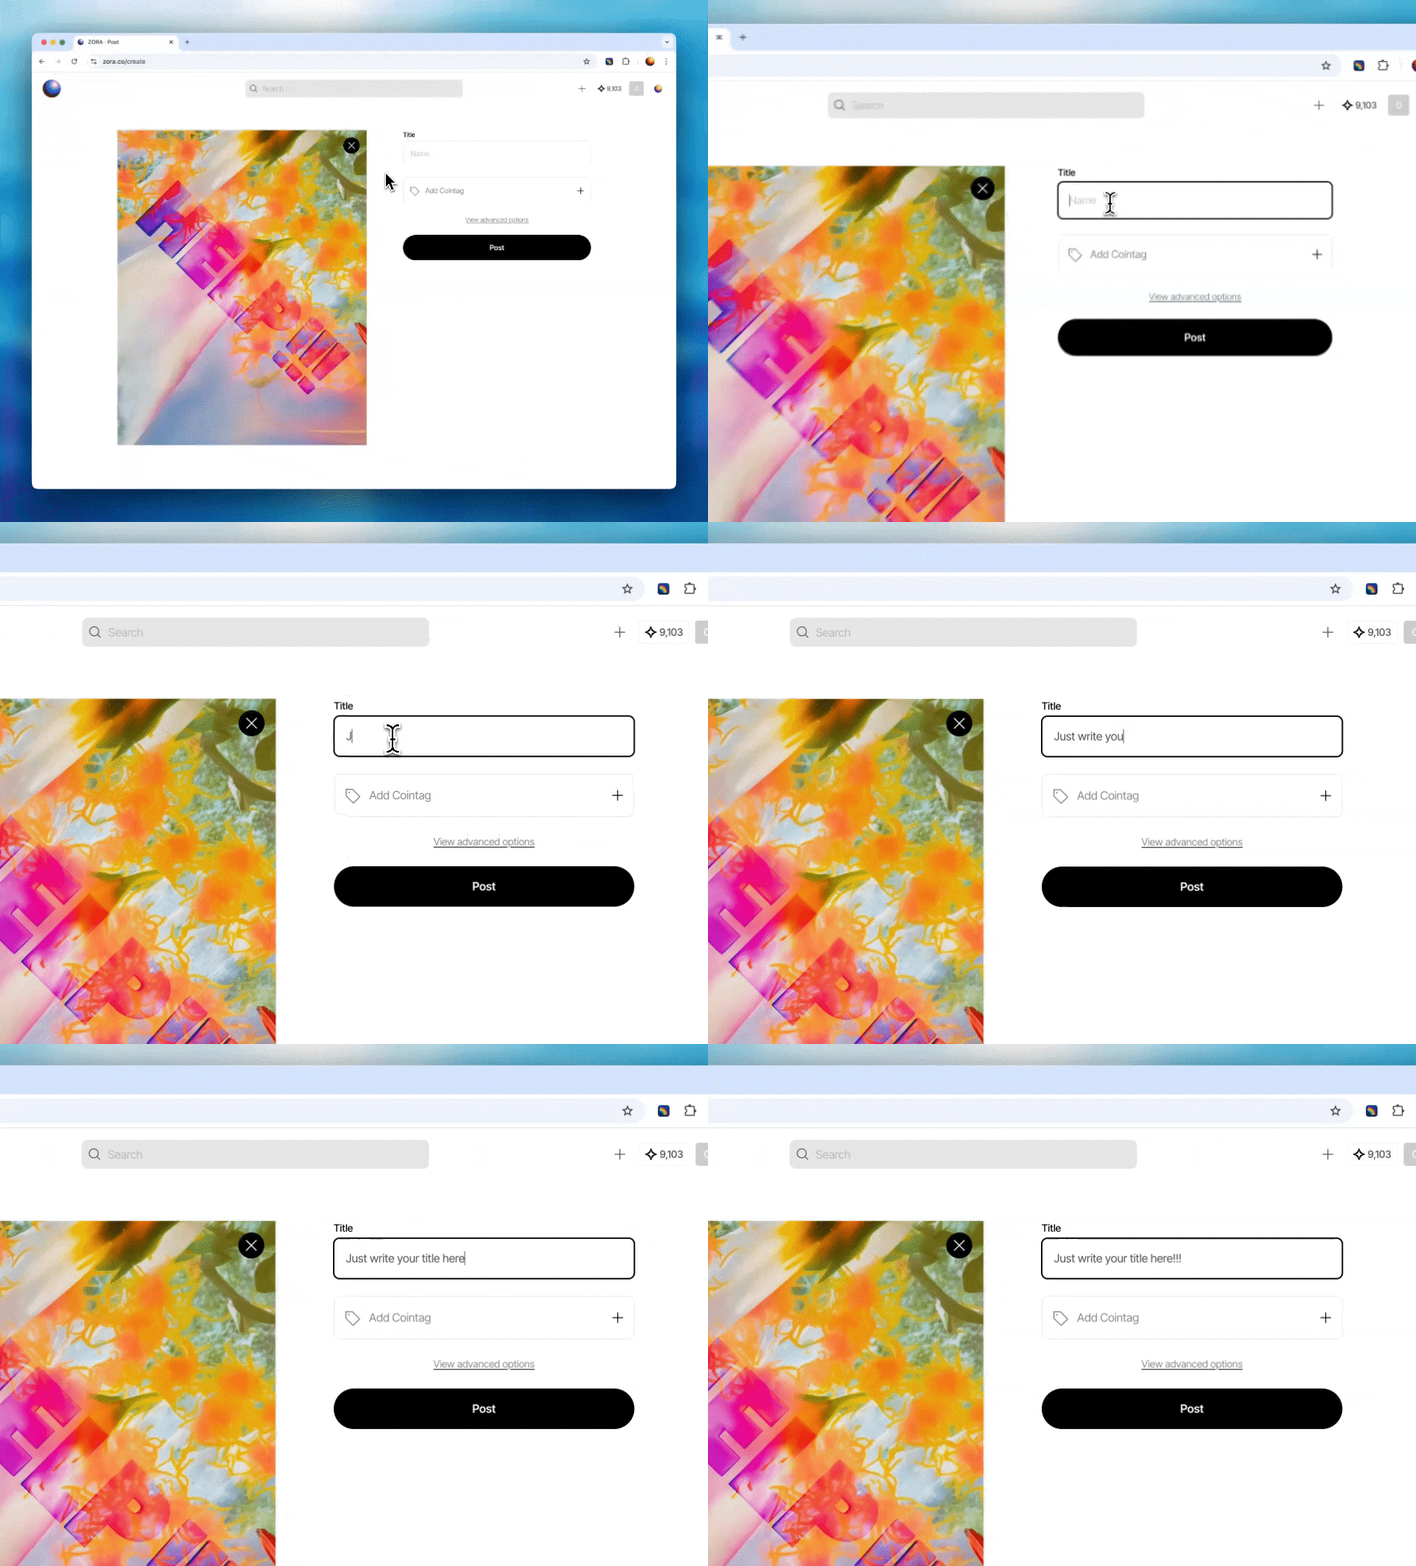
2. Add your Title
Once you have uploaded your artwork, give your post a title.
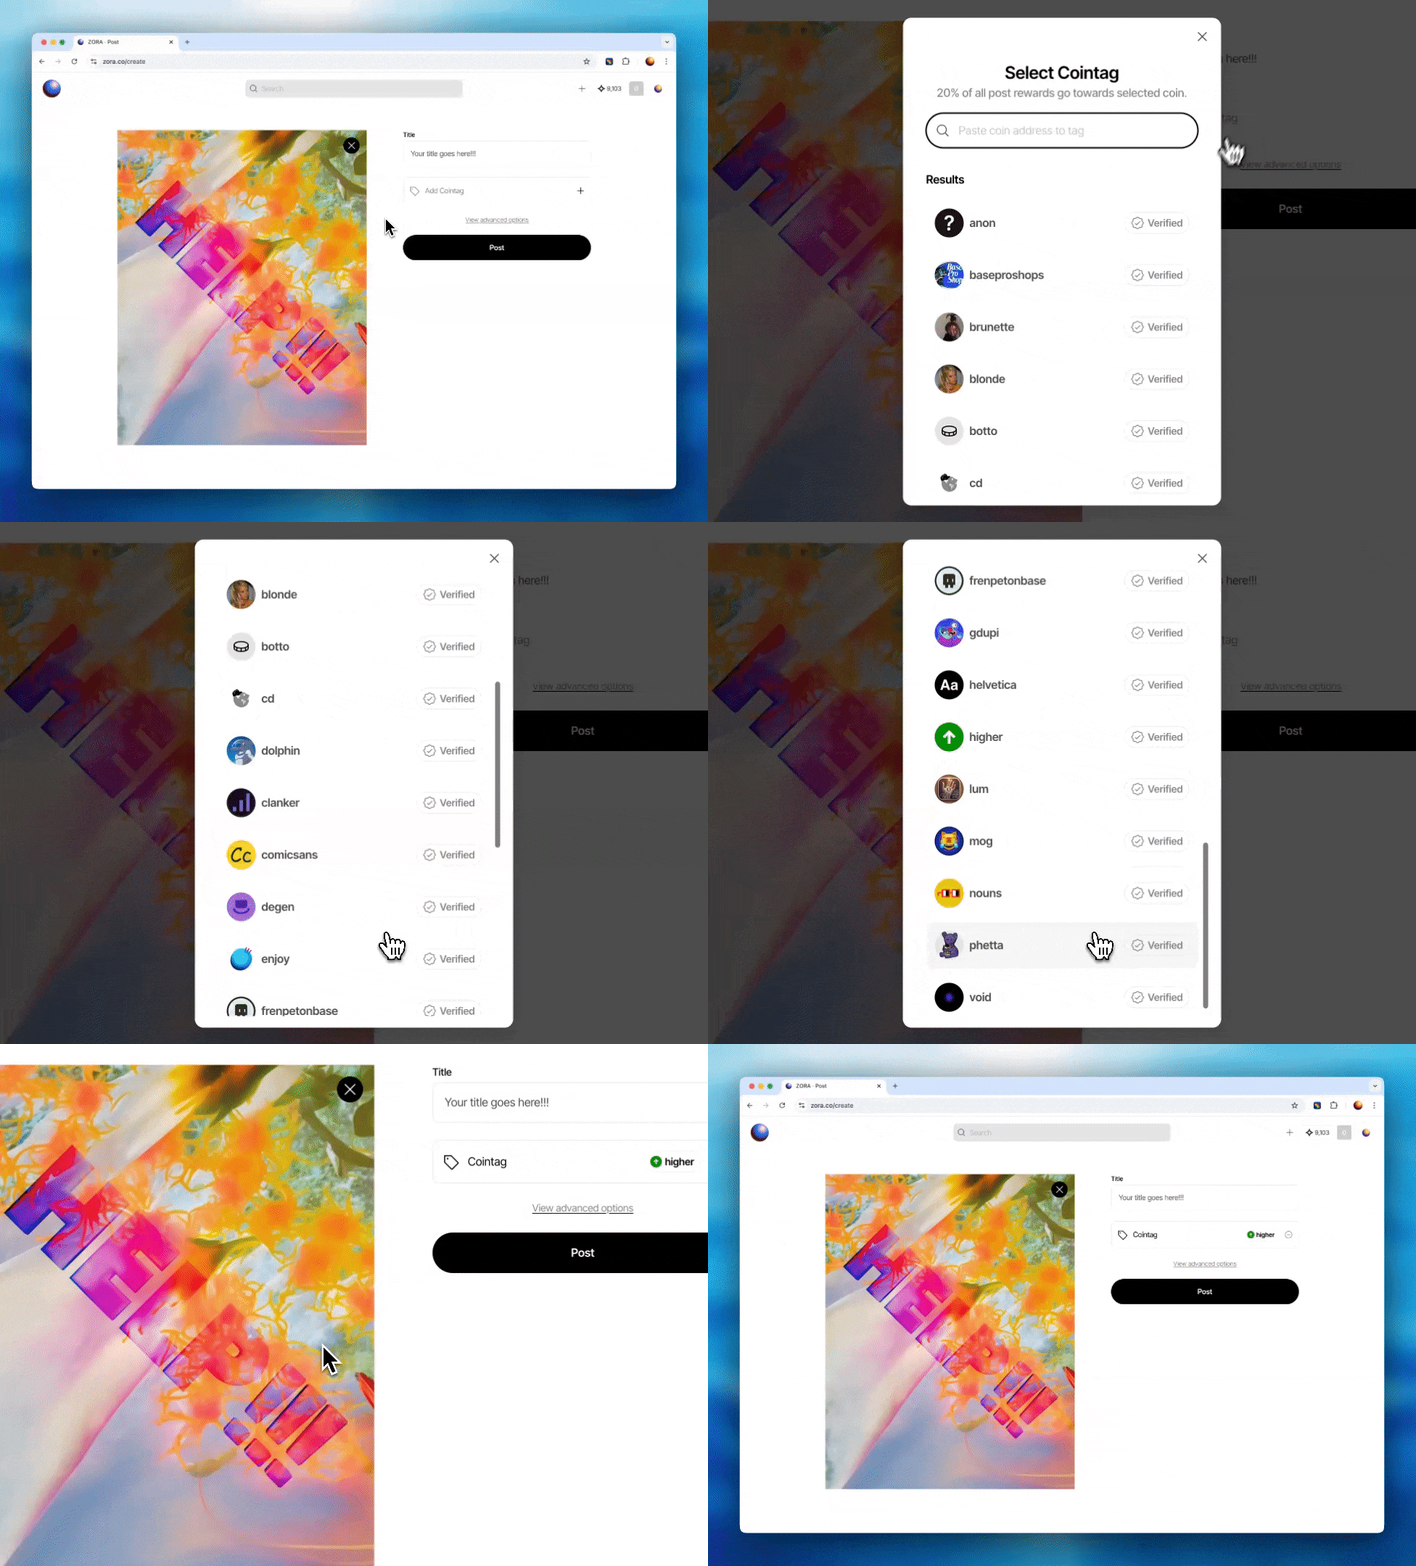
2. Add Cointag
What is a cointag? Cointags lets you connect with onchain communities by tagging your posts with their coins. Please be mindful that adding a cointag will affect how the rewards will be distributed on your post. To learn more about cointags, you can check out our article here.
**This step is optional
To add a cointag to your post
Click to open the cointags menu
Select your desired coin from the list of our available tokens
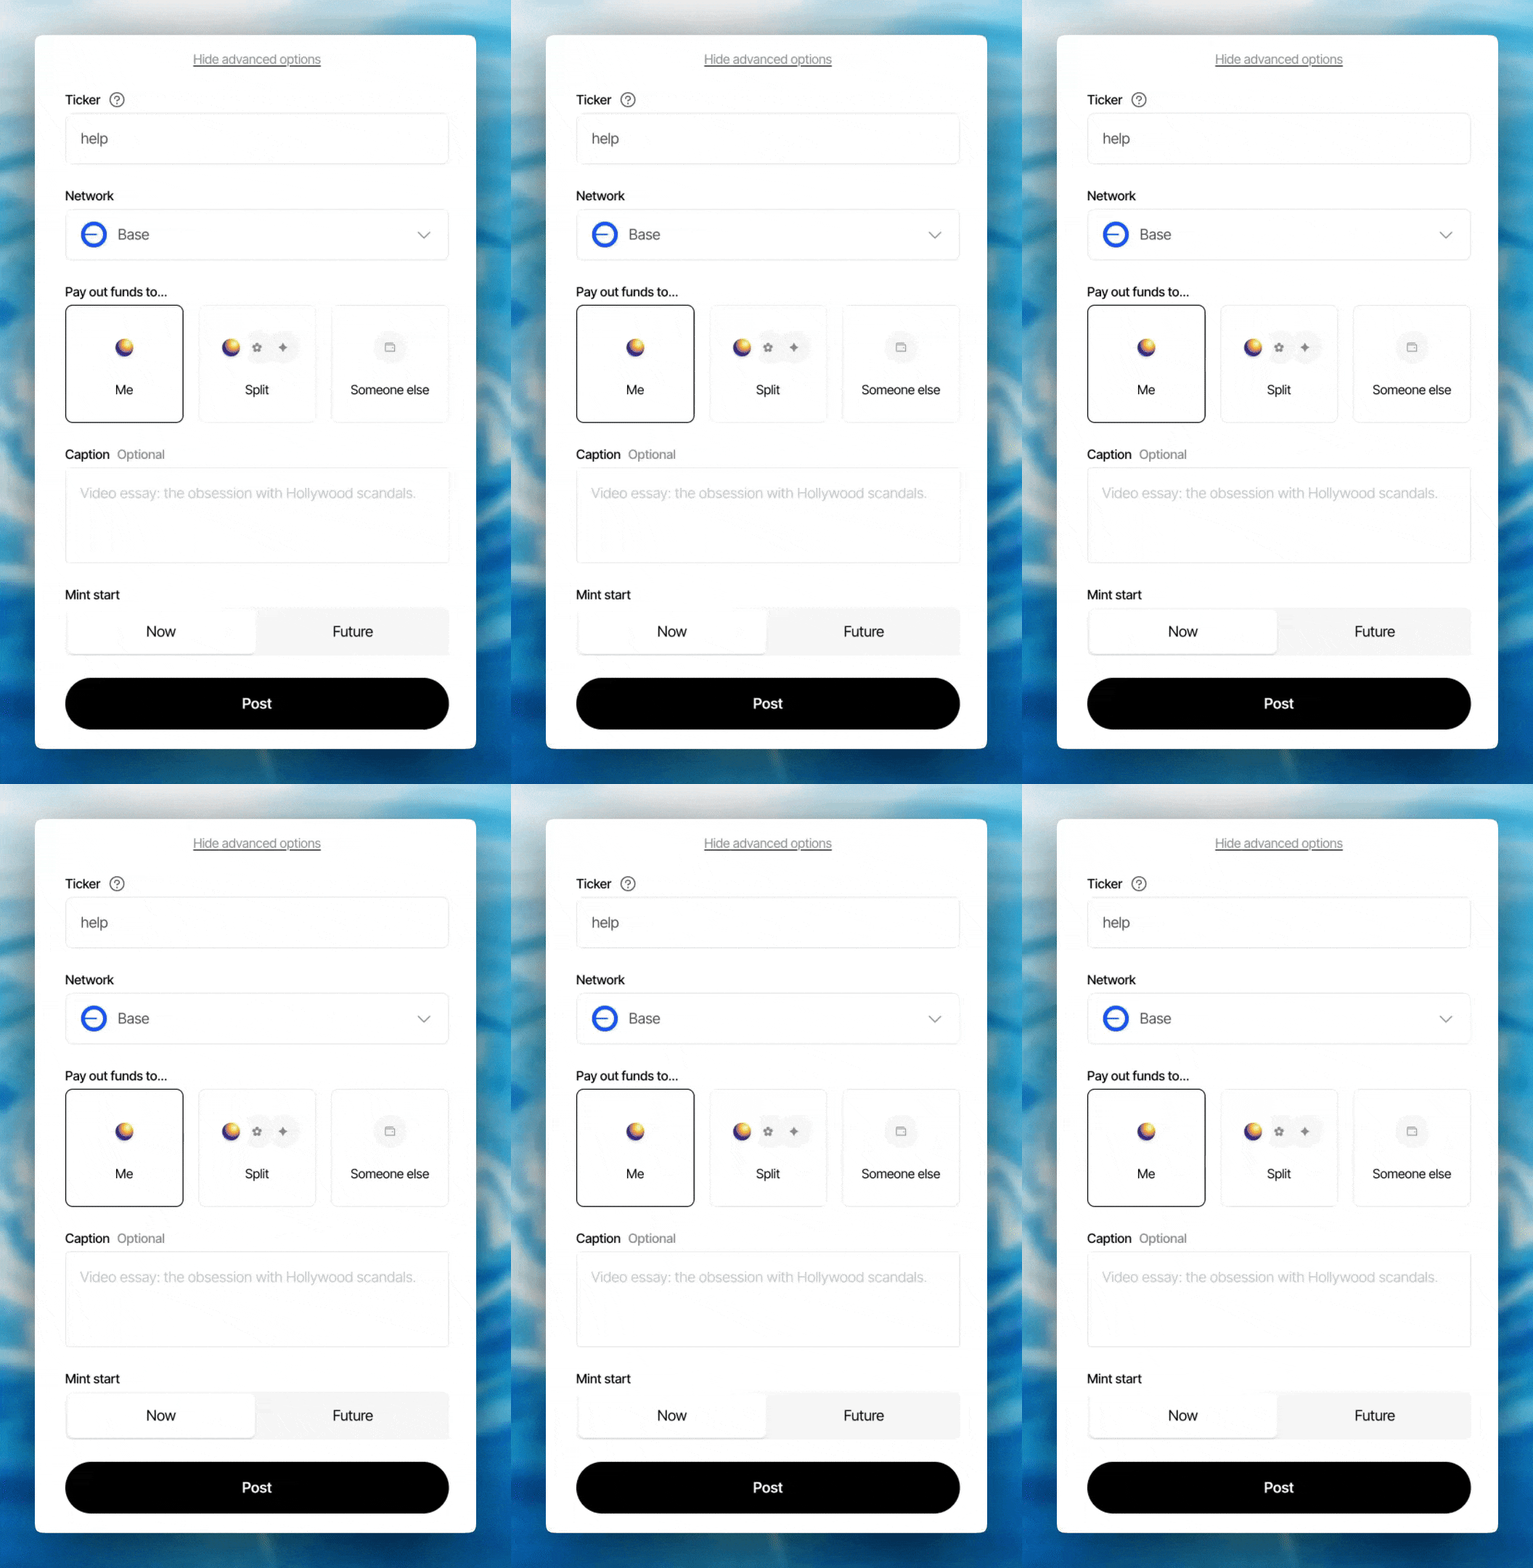
3. Advanced Post Options
Give your post a custom ticker. **This custom abbreviation will show up on exchanges.
Enter a caption for your post.
Select the network that you want your post to be on. It can be on any of our supported networks:
Base Network
Zora Network
OP Mainnet
Arbitrum One Network
**Posts will be made on Base Network by default
Set a Mint Start time: You can choose between:
"Now" will start your mint period immediately after posting.
"Future" allows you to select a custom start time in the future.
Set the payout address for your post. **NOTE: This is set per post
Your address (the address you create the post with)
A Split address
** A maximum of 111 addresses can be added to one split contract.
Other Wallet: this can be a single custom payout address.
Click the “Post” button to finish creating your collection.
**REMINDER: All posting on Zora is free; no transaction is required.
🎉 Posted!!! 🎉: Once the transaction has been confirmed, your collection will be created and ready to share with your community.
Need help or have some questions?
If you would like more help, don't hesitate to get in touch with our support team via our help centre or tag us on X (formerly Twitter) and Farcaster
